


Method 1: Edit the Date with LightPDF
Recommended tool: LightPDF
Best for: Quickly replacing an existing date in an image
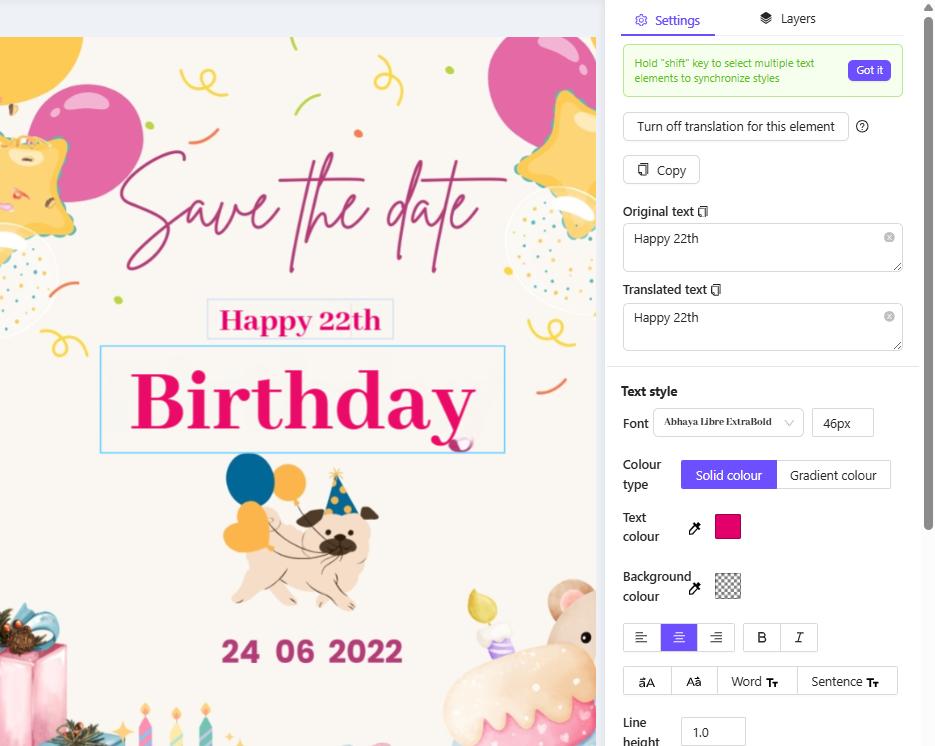
LightPDF provides an online Edit Text in Image tool that lets you modify text already embedded in a picture. This makes it especially useful when you need to update a visible date without recreating the entire graphic.
The tool is useful for dates appearing in:
- Posters
- Event graphics
- Screenshots
- Schedules
- Social media images
- Marketing materials
How to change the date with LightPDF
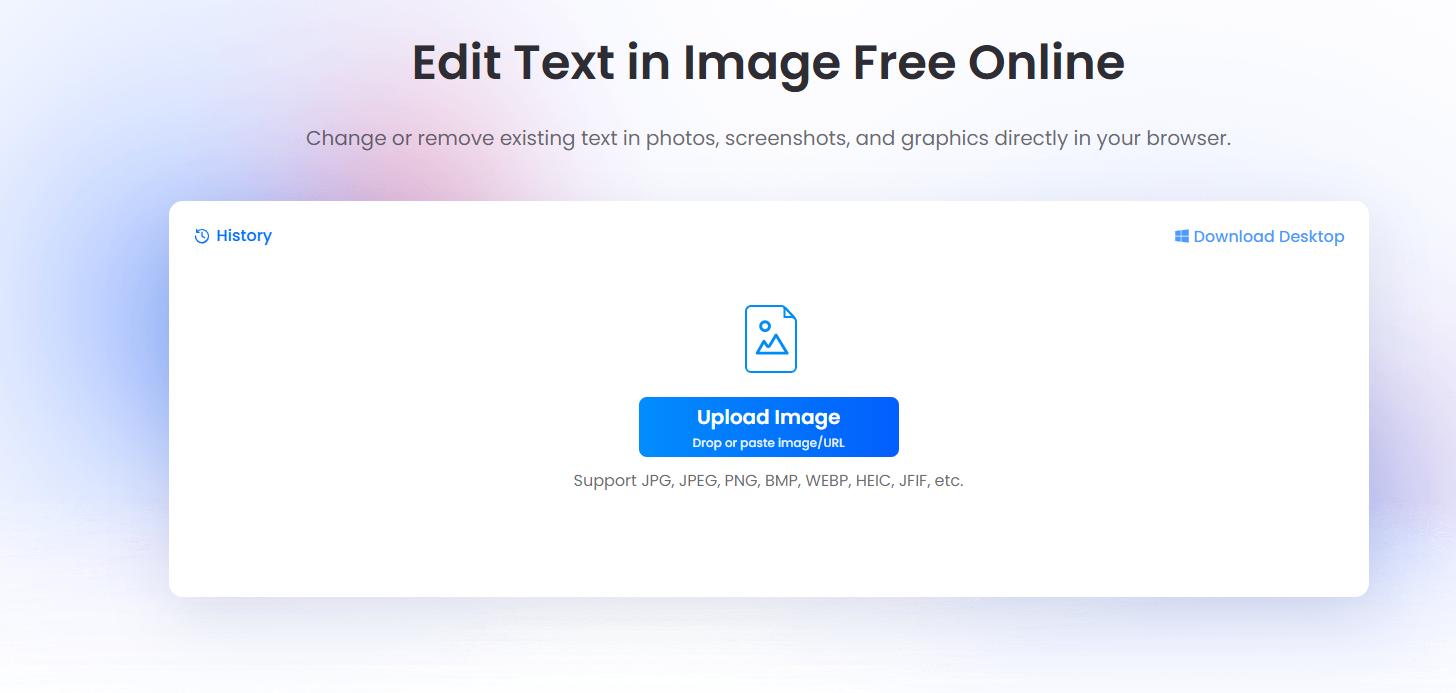
- Open the LightPDF Edit Text in Image tool.
- Upload the image containing the date you want to change.
- Select the existing date in the image.
- Replace it with the new date.
- Check the updated result.
- Download the edited image.
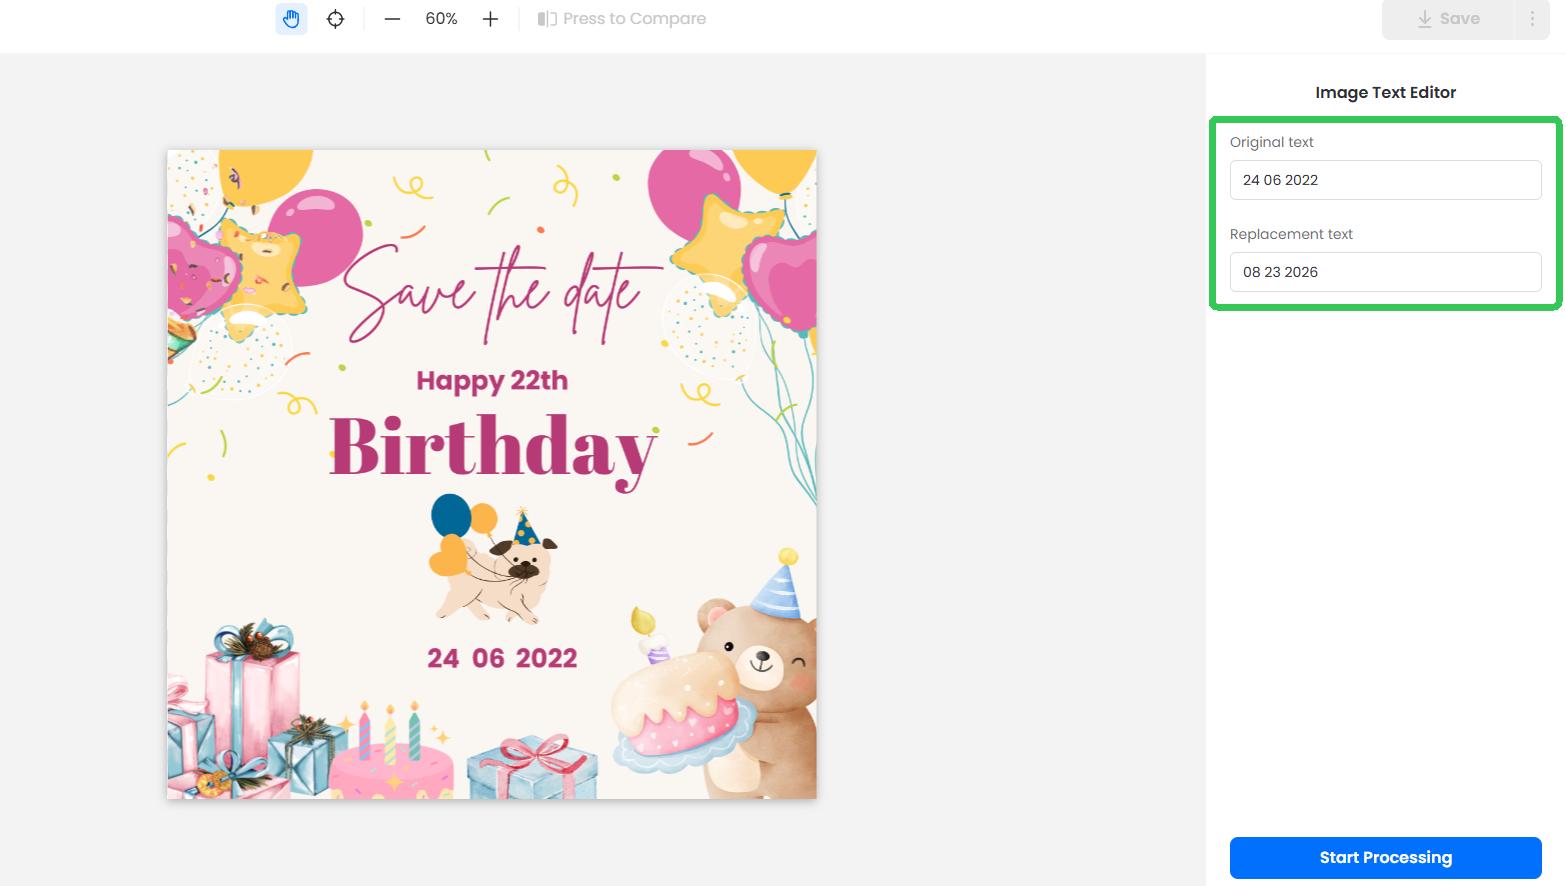
One advantage of this method is that you do not need the original Photoshop, Canva, or design source file. You can work directly with the finished image in your browser.
Method 2: Replace the Date with AI
Recommended tool: PicWish
Best for: Posters, flyers, screenshots, schedules, and marketing graphics
The easiest way to edit a date on a photo is to use an AI image text editor.
Instead of manually removing the old date and trying to find the same font, an AI tool can recognize the existing text, erase it, rebuild the background, and generate the replacement in a similar style.
It has a dedicated date-editing tool that lets you enter the original and replacement text. It is designed to preserve characteristics such as the original font, color, size, perspective, and surrounding background.
How to edit the date
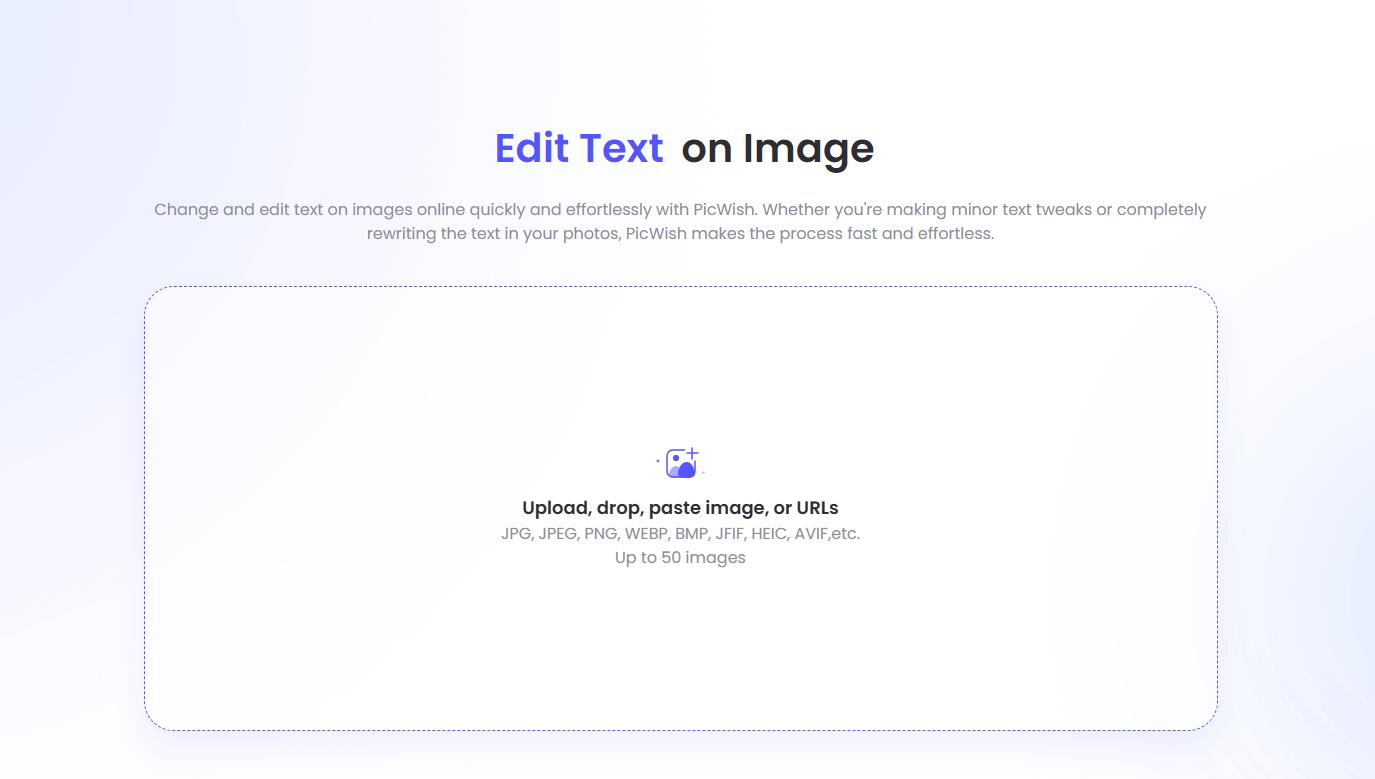
- Open PicWish.
- Upload your JPG, PNG, or WebP image.
- PicWish will recognize the date, and you enter the date currently shown in the image.
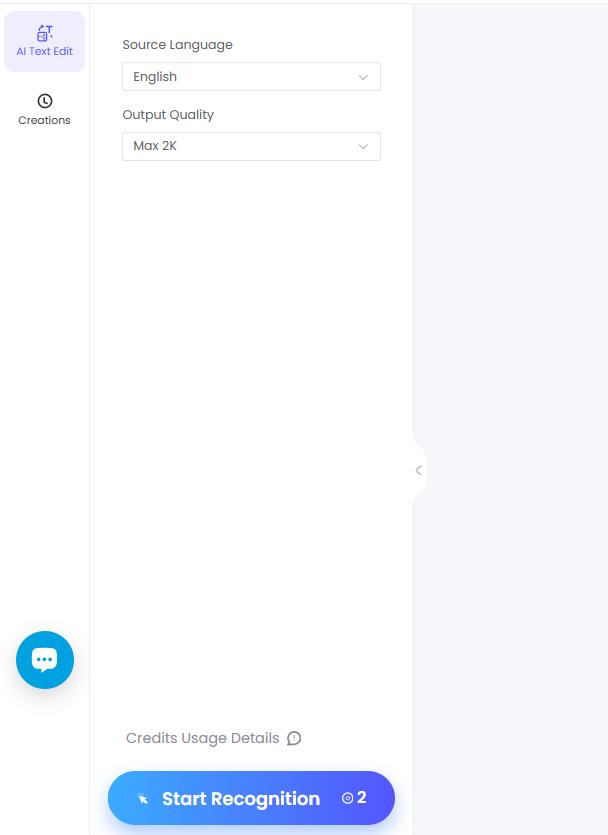
- Enter the new date.
- Generate the updated image.
- Check the result and save it.
Method 3: Edit the Old Date Manually
Recommended tool: Canva
Best for: Simple backgrounds and graphics that need additional design changes
Another easy way to change the date on a photo is to remove the old date first and then add the new one manually.
Canva is a good option for this approach because its image editor includes tools for removing or isolating existing text. Canva’s current AI photo editor also includes Grab Text for updating text in a photo and tools such as Magic Eraser for removing unwanted elements.
How to do it
- Upload your photo to Canva.
- Select the image and open the editing tools.
- Edit the date on photo.
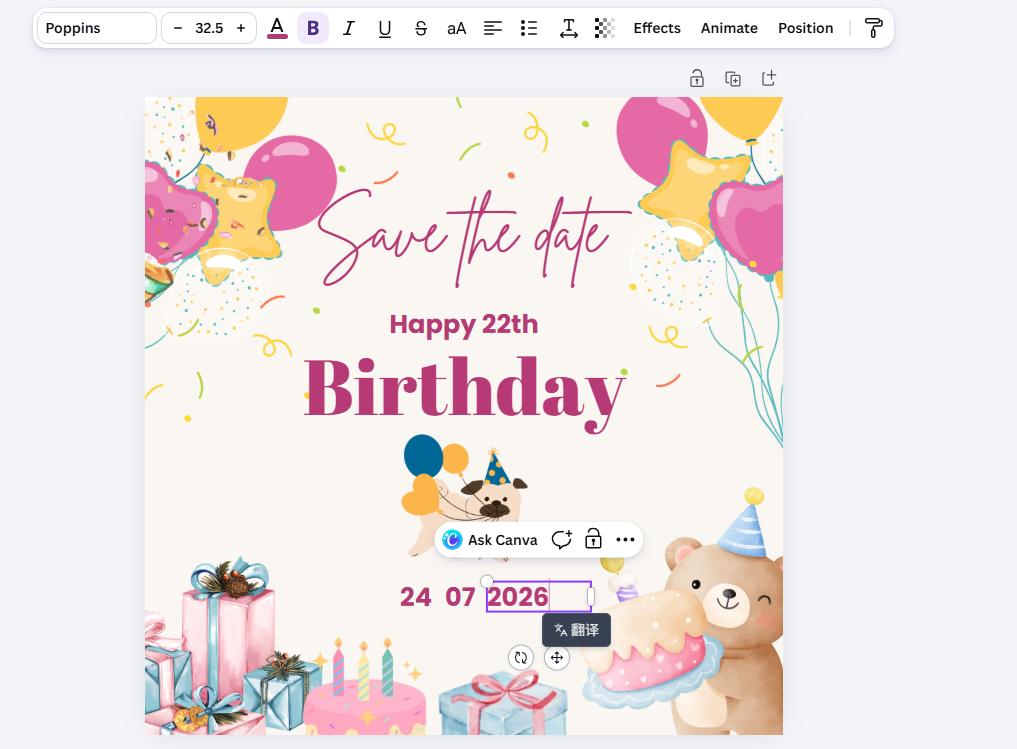
- Match the original font, color, size, and position.
- Export the finished image.
Method 4:Change the Date on an Image with ChatGPT
Best for: Quick AI edits when you don’t want to use a traditional photo editor.
ChatGPT offers an easy AI-based way to change a date in an image without manually adjusting fonts, colors, or backgrounds. Simply upload the image and describe the date you want to replace.
How to do it:
- Open ChatGPT and upload your image.
- Tell ChatGPT which date you want to change. For example: “Change the date from August 15, 2026 to September 15, 2026. Keep the same font, color, size, and background.”
- Review the edited image and save the result.
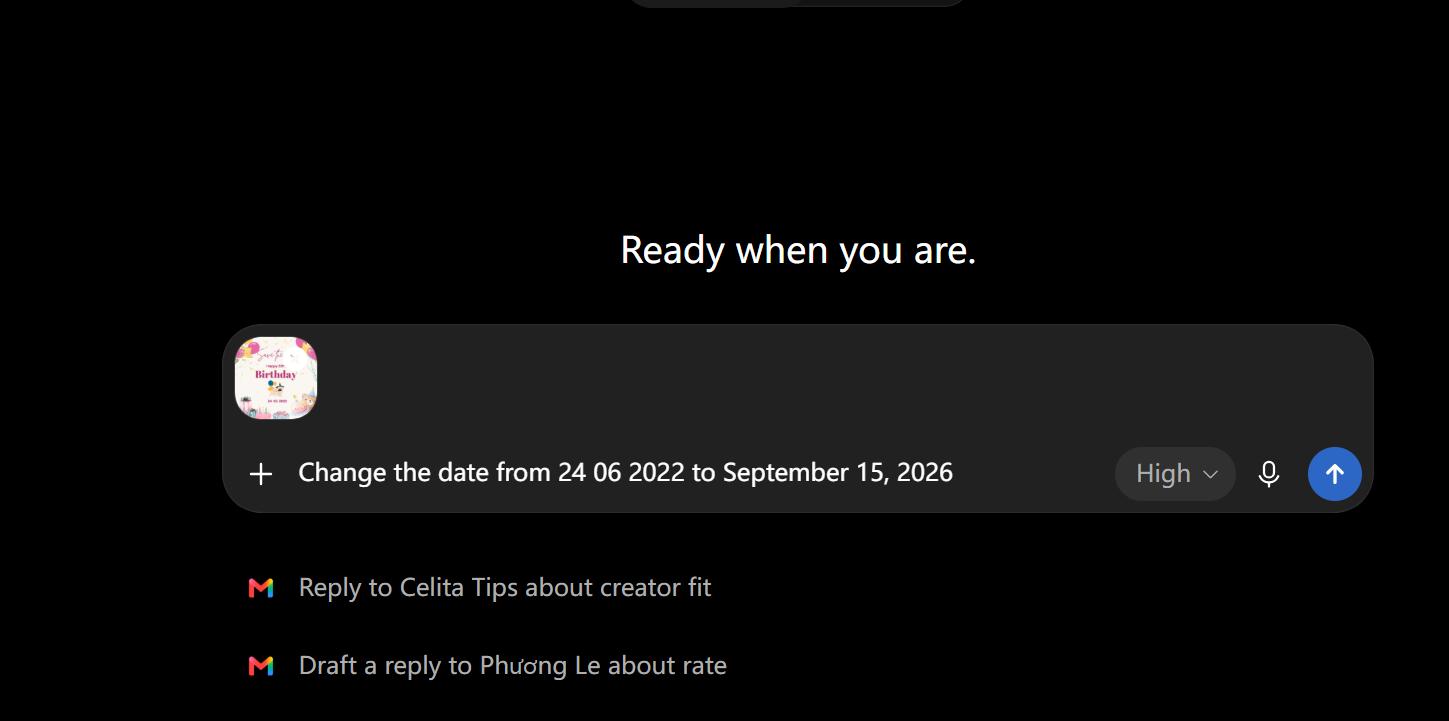
AI image editing may slightly change nearby pixels or formatting, so check the final date and surrounding details carefully.
Method 5: Change the Photo’s Metadata Date
Recommended tool: ExifTool
Best for: Correcting the date a photo was taken
Not every search for “edit date on photo” refers to visible text.
Digital photos can contain hidden metadata such as:
- Date taken
- Creation date
- Modification date
- Camera information
- Location
- Other EXIF information
If the visible image is correct but the Date Taken information is wrong—for example, because your camera clock was incorrectly set—you need a metadata editor instead.
ExifTool is a well-established tool for reading and editing photo metadata. Its AllDates shortcut can write common fields including DateTimeOriginal, CreateDate, and ModifyDate.
Note: These methods are intended for legitimate image editing, such as updating your own posters, schedules, marketing graphics, and personal photos. Avoid altering dates on IDs, financial records, receipts, transaction records, or other documents in ways that could misrepresent authentic information.
Tips for Making the New Date Look Natural
Regardless of which method you choose, pay attention to a few details before saving the image.
Match the original font
Try to use the same font or one with a similar shape, thickness, and style.
Keep the size consistent
The new date should have roughly the same height and visual weight as the original.
Match the color
What appears to be black text could actually be dark gray, navy, or another shade. A color picker can help.
Check the spacing
A replacement date may be longer than the original.
For example:
May 8, 2026
takes up much less space than:
September 18, 2026
You may need to adjust the size or positioning.
Check the background
Zoom in and make sure there are no visible traces of the original date. This is especially important when the text appears over a photograph, texture, or gradient.
Conclusion
There are several ways to edit the date on a photo, and the right tool depends on what you need to change.For quick visible date replacements, try LightPDF or PicWish. Use Canva for simple manual edits, Photoshop for more complex images, and ExifTool when you need to correct the photo’s metadata date.


Leave a Comment