


Part.1 Best Free Tools to Change DPI Resolution Online
We have personally tested the top free image platforms currently live on the web to ensure they successfully alter your image metadata without hidden watermarks or paywalls.
1. Clideo DPI Converter
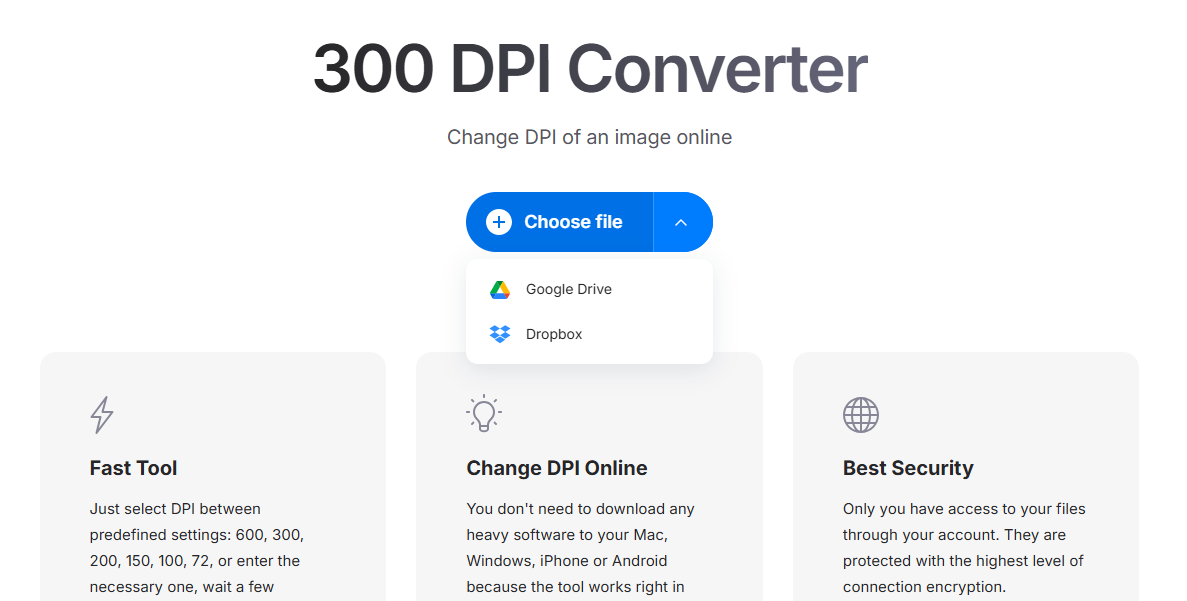
Clideo is a highly popular, minimalist web tool specifically designed to rewrite image resolution tags. It is ideal if you just need a quick metadata adjustment for standard file formats.
- How to use it: Upload your JPG or PNG, select your target value (such as 300), and hit download.
- Best for: Fast, no-nonsense metadata shifting.
2. ConvertTown DPI Converter
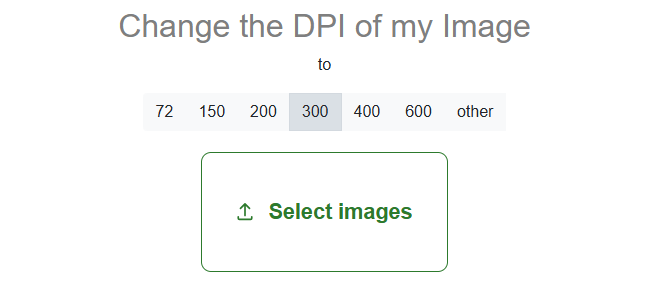
ConvertTown is another completely free, dedicated image dpi resizer that works entirely within your web browser.
- How to use it: Choose your desired DPI value from their preset list (72, 150, 200, 300, or 400 DPI), choose your image, and the site automatically processes and downloads the new file instantly.
- Best for: One-click bulk conversions without navigating complex settings.
3. SetDPI Online Changer
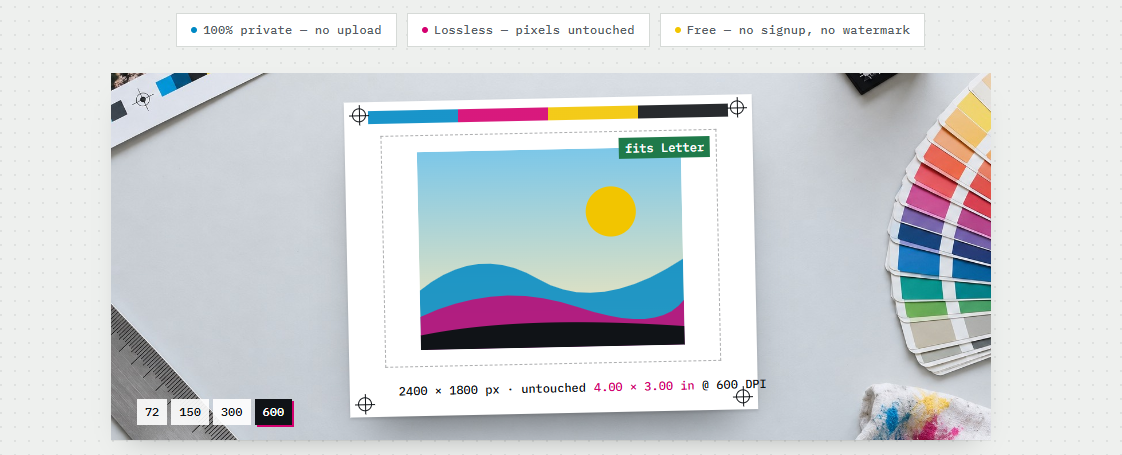
This web utility allows users to modify image metadata directly within the browser without uploading files to a cloud server. It offers standard preset configurations and operates without requiring registration.
- How to use it: Upload the image, choose the desired DPI setting, and save the updated file.
- Best for: Quick, local adjustments to file metadata.
Part.2 Direct Comparison of Live Image DPI Resizer Platforms
| Platform Tool | Supported Input Formats | Main Processing Method | Instant Automatic Download? |
|---|---|---|---|
| Clideo DPI Converter | JPG, PNG, TIFF | Metadata tag editing via manual entry | Yes, manual download button |
| ConvertTown Resizer | JPG, PNG, BMP | Presets click-and-go metadata swap | Yes, automatic download |
| SetDPI Changer | JPG, PNG | Local browser-side tag rewrite | Yes, instant automatic download |
Part.3 How to Change DPI of a Picture Properly
Follow this universal workflow to safely reconfigure your file properties using any online metadata tool:
Step 1: Check Your Original File
Before you attempt to increase dpi of image values, make sure you keep a backup copy of your original photo or scan just in case you need to re-edit it later.
Step 2: Upload to the Online Resizer
Open your chosen change dpi resolution online platform. Drag and drop your document image file into the browser upload box.
Step 3: Input Your Target DPI Number
Select or type in your required output. For high-quality document submission, academic theses, and commercial printing, always set the tool to change to 300 dpi.
Step 4: Download and Verify
Download the processed file to your computer. You can right-click the image, go to “Properties” (Windows) or “Get Info” (Mac), and check the details tab to confirm that the metadata has been successfully updated.
Part.4 What an Image DPI Resizer Won’t Tell You
Here is a quick reality check from someone who processes a lot of paperwork: changing the DPI number does not magically make a blurry photo look sharp.
When you use a tool to change dpi of image files, it only edits a single hidden text line inside the file metadata. It does not add new pixels. If you take a blurry, dark phone picture of a document or a research paper appendix, and use a resizer to force a change to 300 dpi, you just get a high-DPI version of a messy, unreadable file.
If your ultimate goal is to submit clean documents that pass strict human reviews or automated portal checks, you need to clean the actual pixels of the image.
- Clean the background canvas first: If your image is an official document, contract, or academic scan, consider using a dedicated workspace tool like a Clean up PDF engine. This supports formats like PDF, JPG, PNG, and TIFF, and allows you to instantly bleach out messy phone shadows, background gray casts, and scanner streaks in one click.
- Enhance the text contrast: Before running your files through an online converter, use a quick Enhance Scanned File feature to automatically sharpen faint text characters and faded ink. This delivers a crisp, high-fidelity visual layout that naturally matches the pristine clarity of a physical 300 DPI flatbed scanner.
Part.5 FAQ About Image Resolution
Can I change dpi of a picture without losing quality?
Yes. Modifying the metadata tag to increase dpi of image properties does not compress or damage your pixels. However, if an online tool shrinks the physical print size dimensions (inches) to achieve that density, ensure your text characters remain large enough to read easily.
Why do dissertation submission systems require 300 DPI minimum?
Portals handling official documents—like university dissertation systems, legal registries, or visa applications—enforce a 300 DPI standard to guarantee legibility when documents are archived, printed, or viewed on modern high-definition monitors.
How can I decrease dpi of image files to reduce file size?
If an official application portal rejects your upload because the file size is too massive, you can use a converter to decrease dpi of image parameters down to 150 or 72 DPI. Another smart way to shrink file size without losing text clarity is to strip away heavy background shadows, ink smudges, and gray color casts using a document purifier workspace.
What is the best format for archiving high-resolution document prints?
While JPG is fine for standard web graphics, TIFF (or TIF) and PDF are the gold standards for documents. TIFF uses lossless compression, meaning it preserves every single pixel perfectly during edits, while PDF keeps your text formatting completely locked across all devices.


Leave a Comment