


What Causes Glare and Reflection in Photos?
- Glare occurs when intense light hits a reflective surface and enters the camera lens, creating bright spots or haze.
- Reflection happens when surrounding environments are captured on glossy or transparent surfaces.
Common scenarios:
- Glasses in portrait photography
- Windows and glass surfaces
- Water reflections in landscapes
- Shiny materials in product photography
5 Best Ways to Remove Glare from Photos Online
Method 1: LightPDF
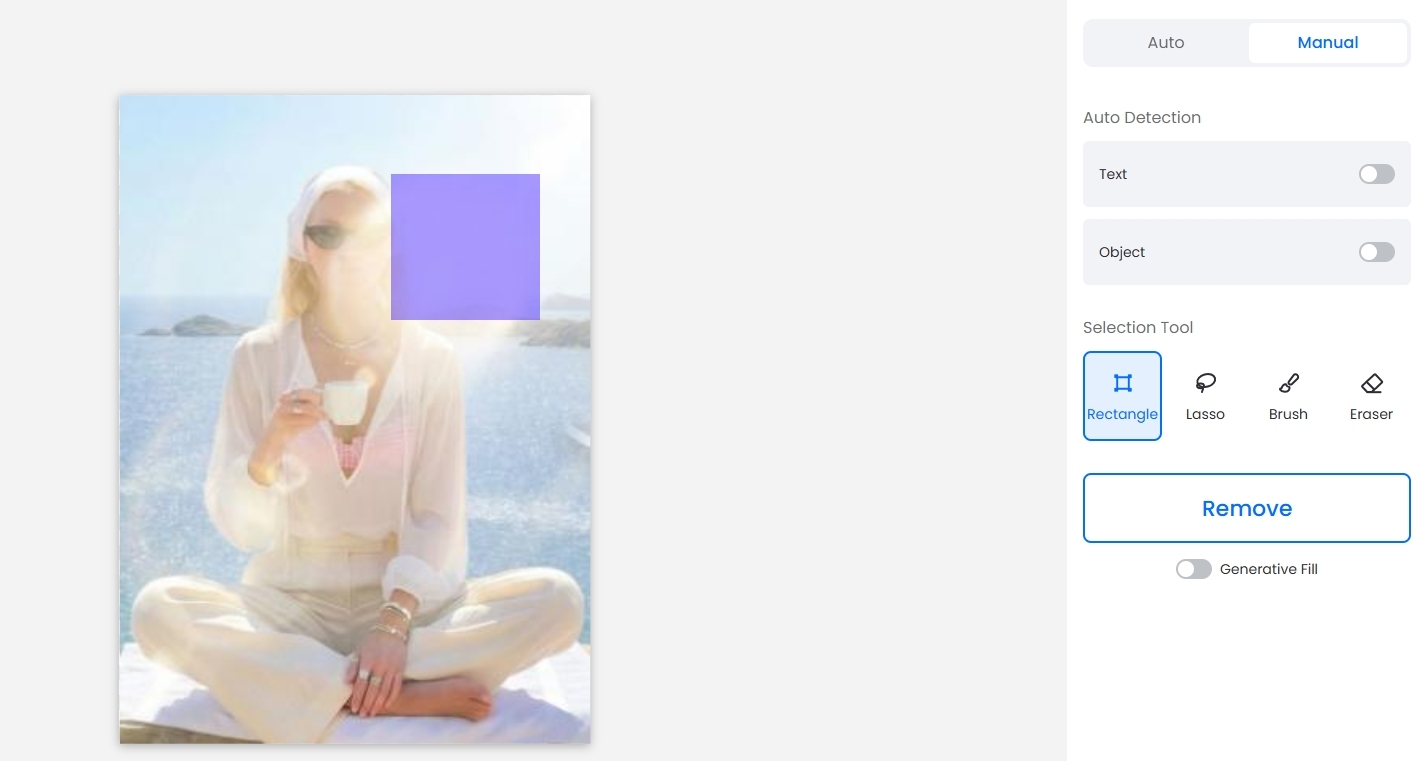
LightPDF Watermark remover is an AI-based online tool that removes glare and reflections directly in the browser. It automatically detects bright or reflective areas and improves image clarity without manual editing. It also provides a manual selection option for more precise control over specific areas.
Steps:
- Open LightPDF in your browser.
- Upload your image.

- Use the Selection Tool (eraser or brush mode) in the manual option to carefully mark the glare or reflection areas you want to remove.
- Apply removal and process the image.
- Download your result. If the image appears slightly blurry or low in quality, you’ll be prompted to use Photo Enhancer to improve its clarity.


Benefits:
- Browser-based editing
- Fast AI processing
- Works on all devices
- Simple batch support
- Free basic usage
Best for: Quick and simple glare removal.
Method 2: Fotor
Fotor is an online AI photo editor with object removal tools designed for flexible image editing. Its Magic Eraser feature allows users to remove glare while maintaining surrounding details. It combines AI automation with manual editing control for better accuracy.
Steps:
- Open Fotor AI Editor.
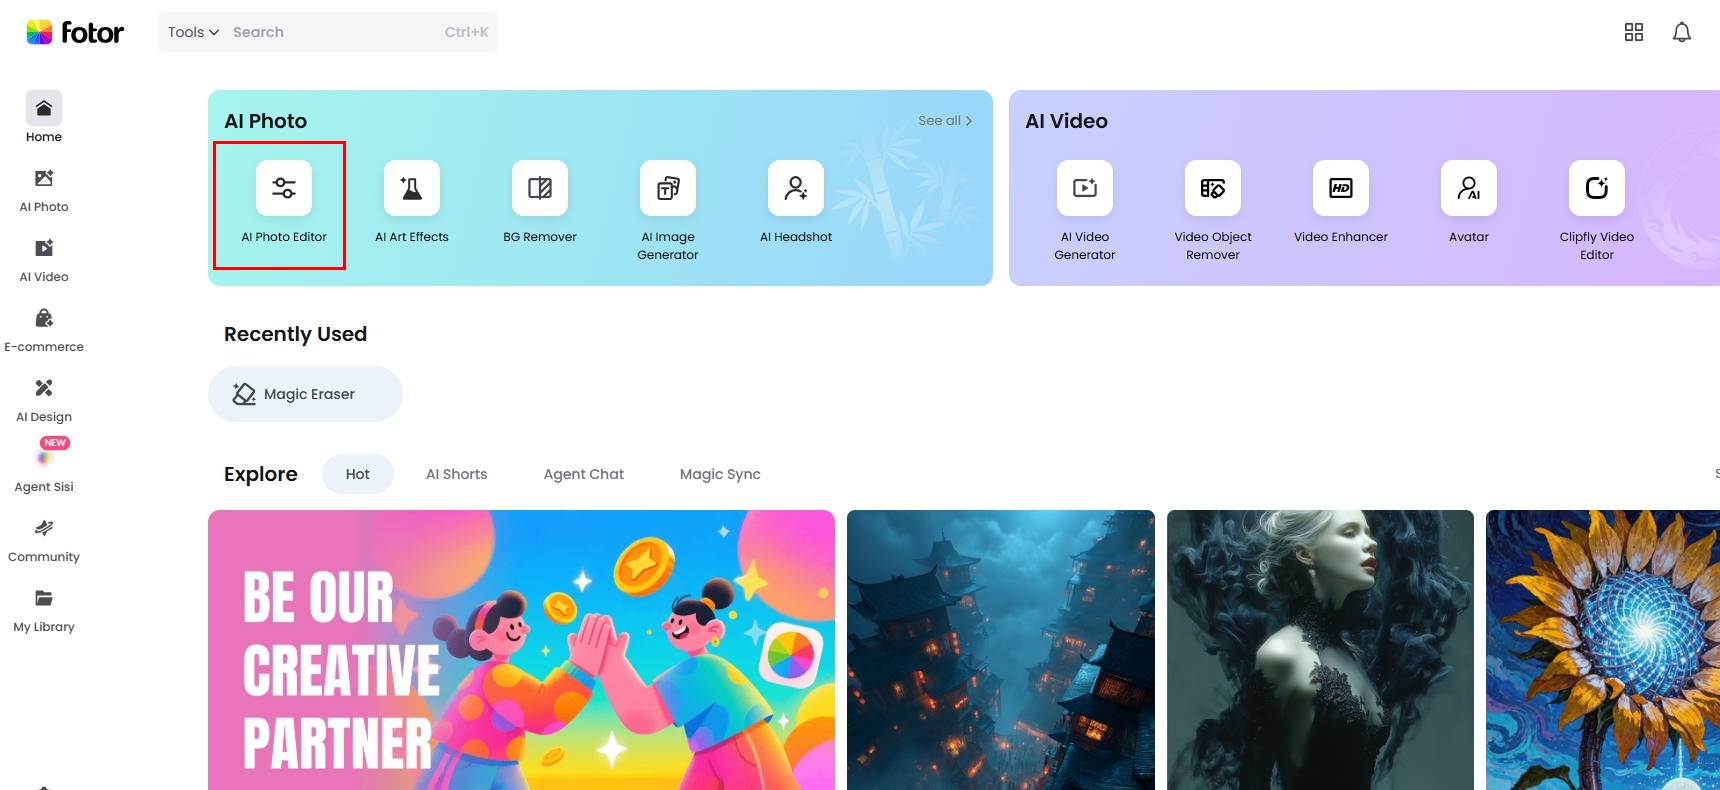
- Upload your image.
- Select Magic Eraser.
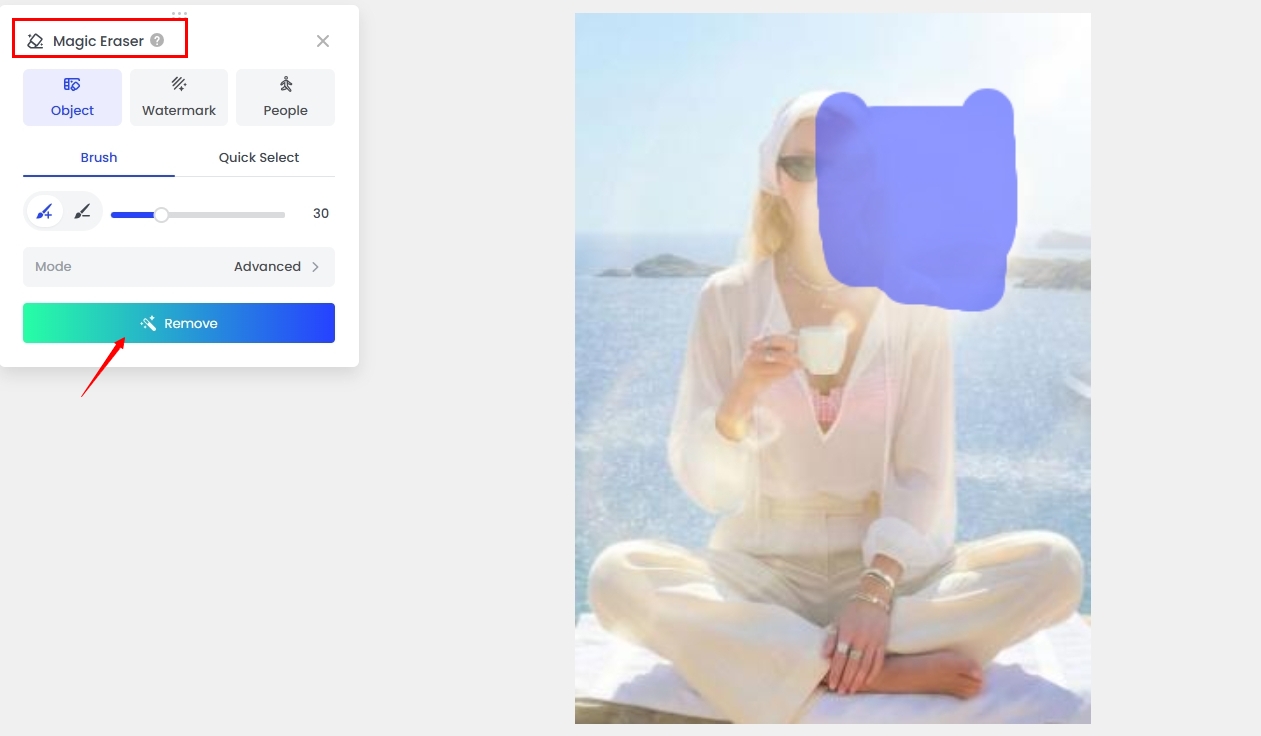
- Remove glare areas manually.
- Export the image.


Benefits:
- AI + manual editing tools
- Easy drag-and-drop interface
- No installation required
- Works on mobile and desktop
Best for: Users who want more detailed editing control.
Method 3: Canva
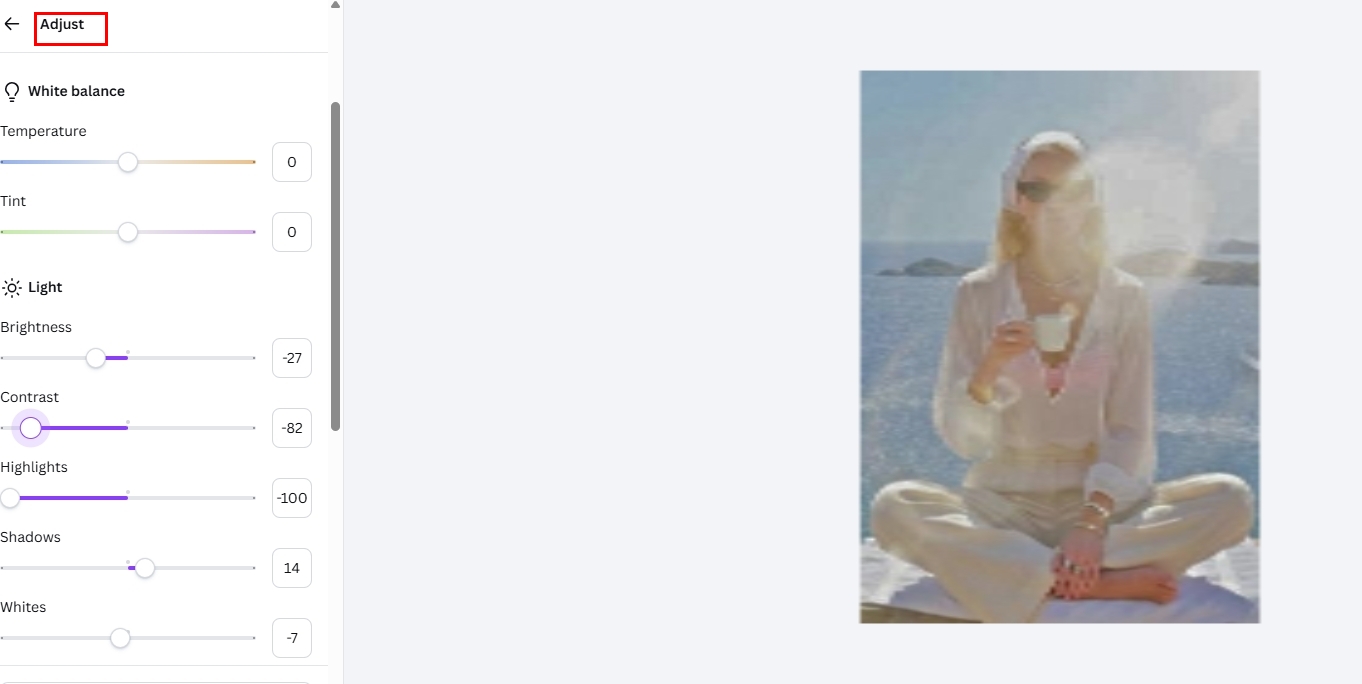
Canva is a design platform that includes basic photo adjustment tools. It reduces glare by balancing brightness, highlights, and exposure rather than directly removing reflections. It is especially useful for creating polished social media visuals.
Steps:
- Upload image to Canva.

- Open Edit Photo.
- Adjust Highlights and Exposure.
- Apply Auto Fix if needed.
- Download your final image instantly. If you’re not fully satisfied with the result, you can also use the Magic Eraser tool to easily remove any remaining glare or reflections.


Benefits:
- Simple and beginner-friendly
- Web and mobile support
- Great for content creation
- Free plan available
Best for: Social media and light image enhancement.
Method 4: AirBrush
AirBrush is an AI photo enhancement tool focused on portraits and product images. It automatically detects glare and restores natural lighting and textures. It is widely used in beauty editing and e-commerce photography.
Steps:
- Open AirBrush Glare Remover.
- Upload photo.
- Choose Glare Removal tool.
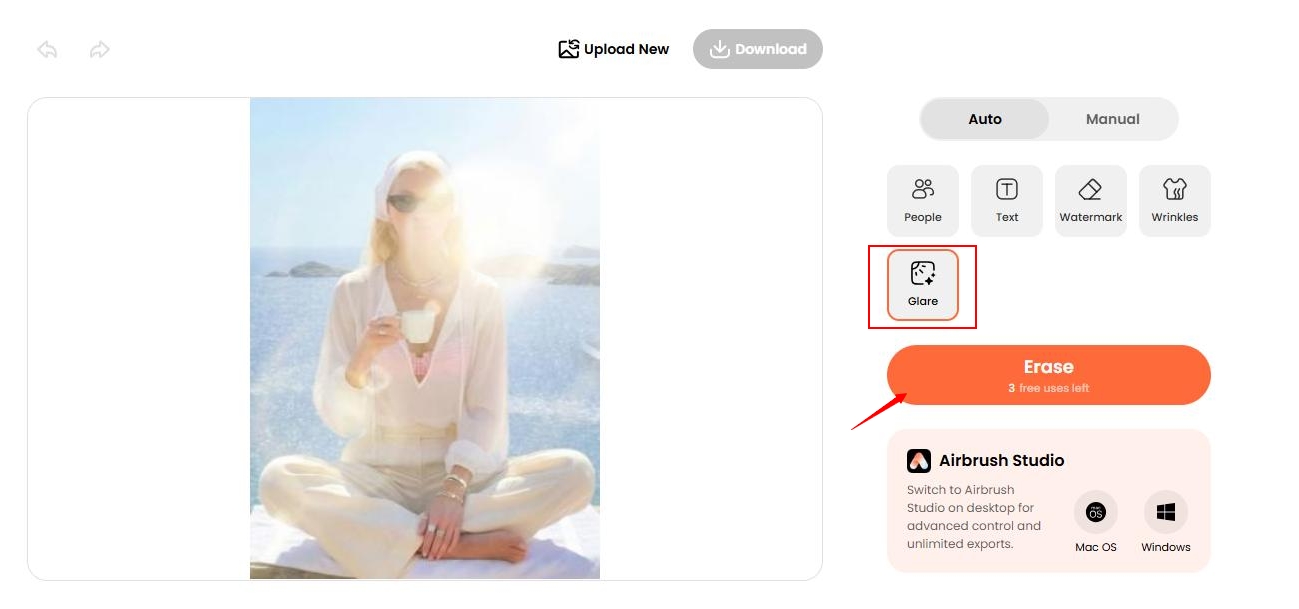
- Let AI process image.
- Download result.


Benefits:
- Automatic AI detection
- Natural image restoration
- Fast processing
- No software needed
- Works for multiple photo types
Best for: Portraits and product photography.
Method 5: Claid AI
Claid AI is a professional AI editing tool that removes glare using text prompts instead of manual editing. It is designed for high-quality and commercial-grade image enhancement. It is especially effective for product photography workflows.
Steps:
- Open Claid AI Remove Glare tool.
- Upload image.
- Enter prompt (e.g. “remove glare from photo”).
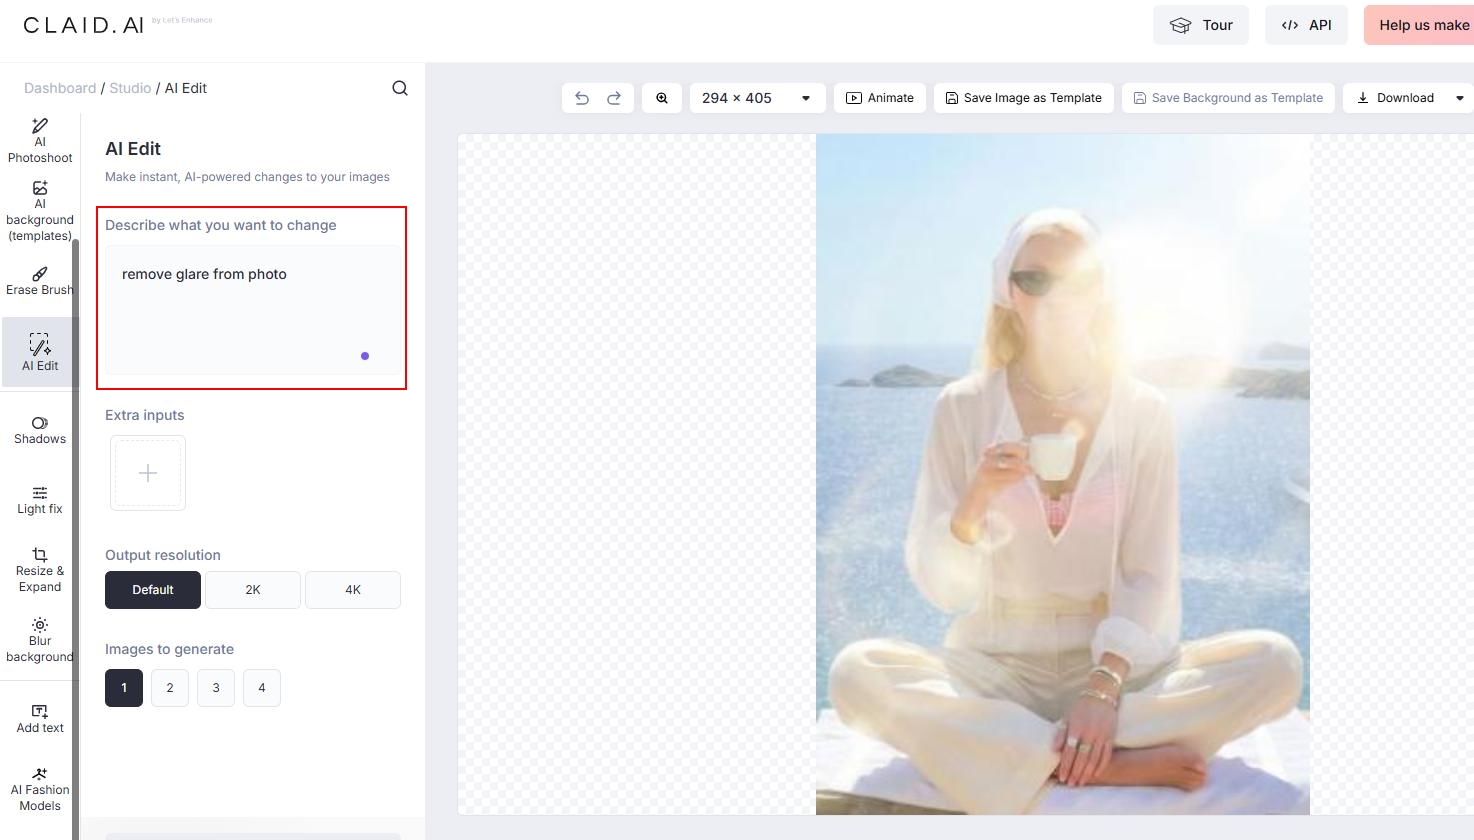
- Let AI process the image.
- Download output.

Benefits:
- Prompt-based editing system
- Maintains natural lighting and texture
- High-quality commercial output
- Free trial credits available
- Efficient workflow integration
Best for: Professional product and commercial images.
FAQs — Remove Glare from Photos
1. Can glare be removed without Photoshop?
Yes. AI tools allow full browser-based glare removal without desktop software.
2. Which tool is easiest for beginners?
LightPDF and Canva are the most beginner-friendly options.
3. Can reflections be fully removed?
Simple reflections can usually be removed completely, while complex ones may require partial correction.
4. Does glare removal affect image quality?
High-quality tools preserve details, but results depend on lighting and image resolution.
5. Are these tools free?
Most tools offer free plans or trial credits, with optional paid upgrades for advanced features.
6. Which tool is best for e-commerce photos?
Claid AI and AirBrush are best suited for product and commercial photography.
Final Thoughts
AI-powered tools make glare and reflection removal fast and accessible without professional editing skills. Each tool serves a different purpose – from quick fixes to advanced commercial editing.
LightPDF is ideal for speed, Fotor for flexible editing, Canva for simple adjustments, AirBrush for portraits and product photos, and Claid AI for high-quality prompt-based workflows.


Leave a Comment