


1. Remove Handwriting from Form Images with LightPDF
Best for: Photos and scanned forms saved as JPG, PNG, or WebP files.
LightPDF Remove Handwriting from Image is designed to erase handwritten entries while preserving printed content and page structure as much as possible. It can help prepare reusable copies of forms, checklists, and planning sheets. Check areas where handwriting overlaps printed labels or lines.
How to Remove Handwriting from a Form Image
- Prepare a clear image. Scan the form or take a straight, evenly lit photo. Make sure the entire page is visible.
- Upload your form. Open LightPDF Remove Handwriting from Image and upload the file.
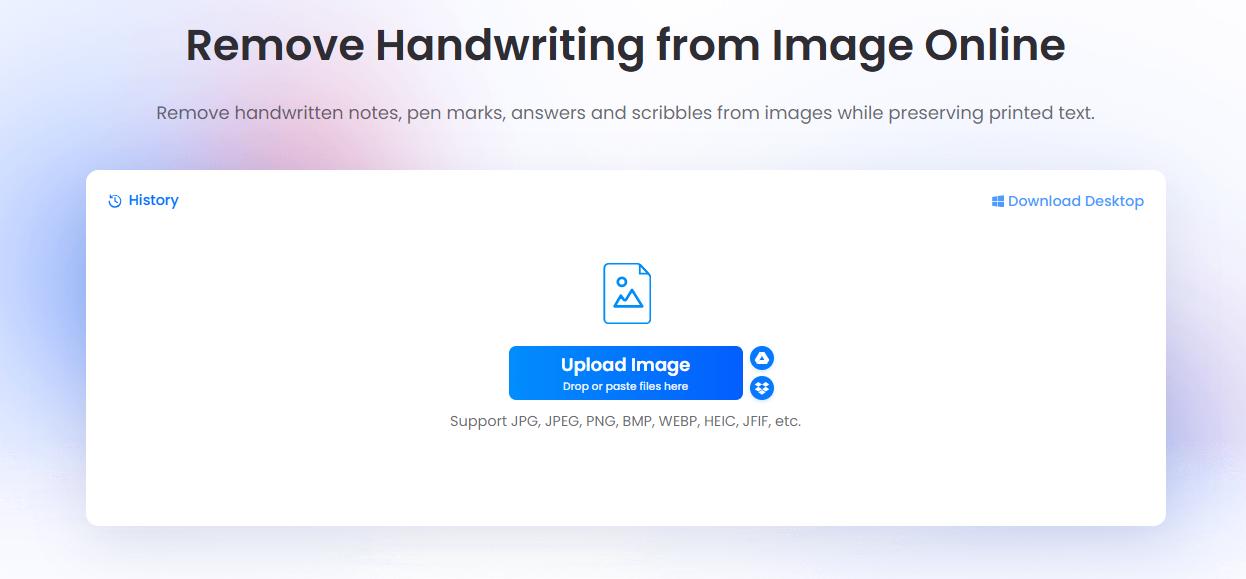
- Choose a removal mode. Select the appropriate mode and click Start Processing.
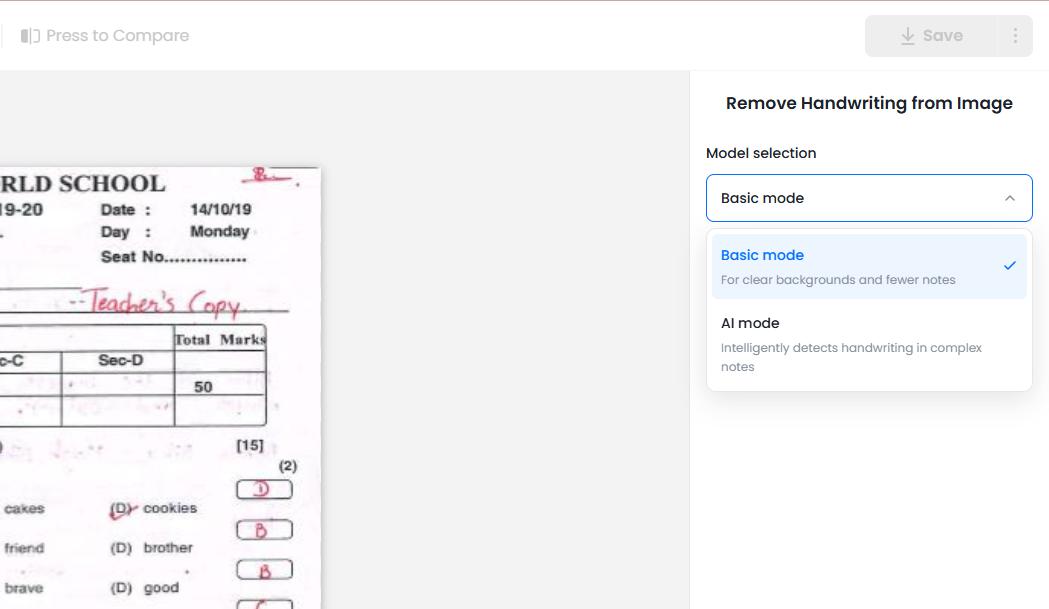
- Preview the result. Check field labels, checkboxes, and table borders, especially where handwriting overlaps them.
- Download the cleaned form. Save the image for printing or reuse.

Pros:
- Designed for handwriting removal from document images.
- Supports common image formats.
- Processes files online without software installation.
Cons:
- Overlapping handwriting may affect printed details.
- The cleaned image still needs a visual check before reuse.
2. Remove Handwriting from PDF Forms with LightPDF
Best for: Forms saved as scanned PDFs, including documents with multiple pages.
If your form is already a PDF, use LightPDF Remove Handwriting from PDF. The tool identifies handwritten content on PDF pages and produces a cleaned copy you can download.
How to Remove Handwriting from a PDF Form
- Open LightPDF Remove Handwriting from PDF.
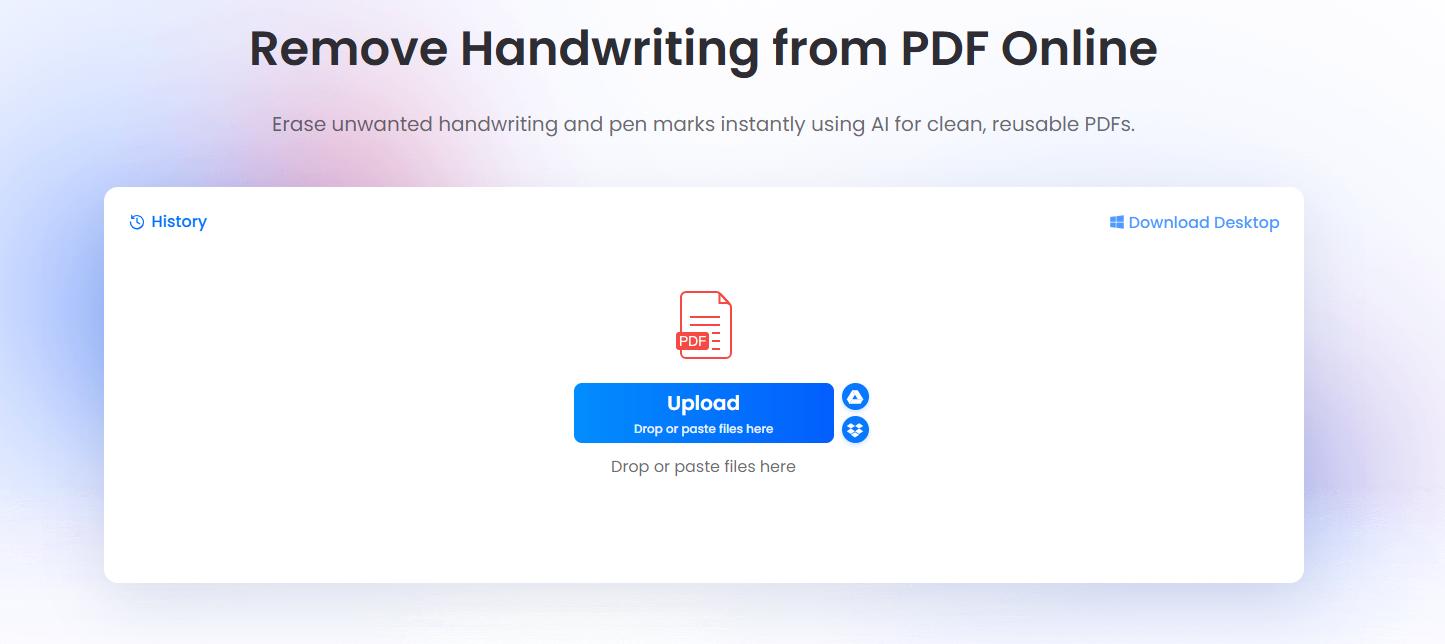
- Upload the PDF containing the completed form.
- Choose removal mode and click on Start processing to remove the handwriting.
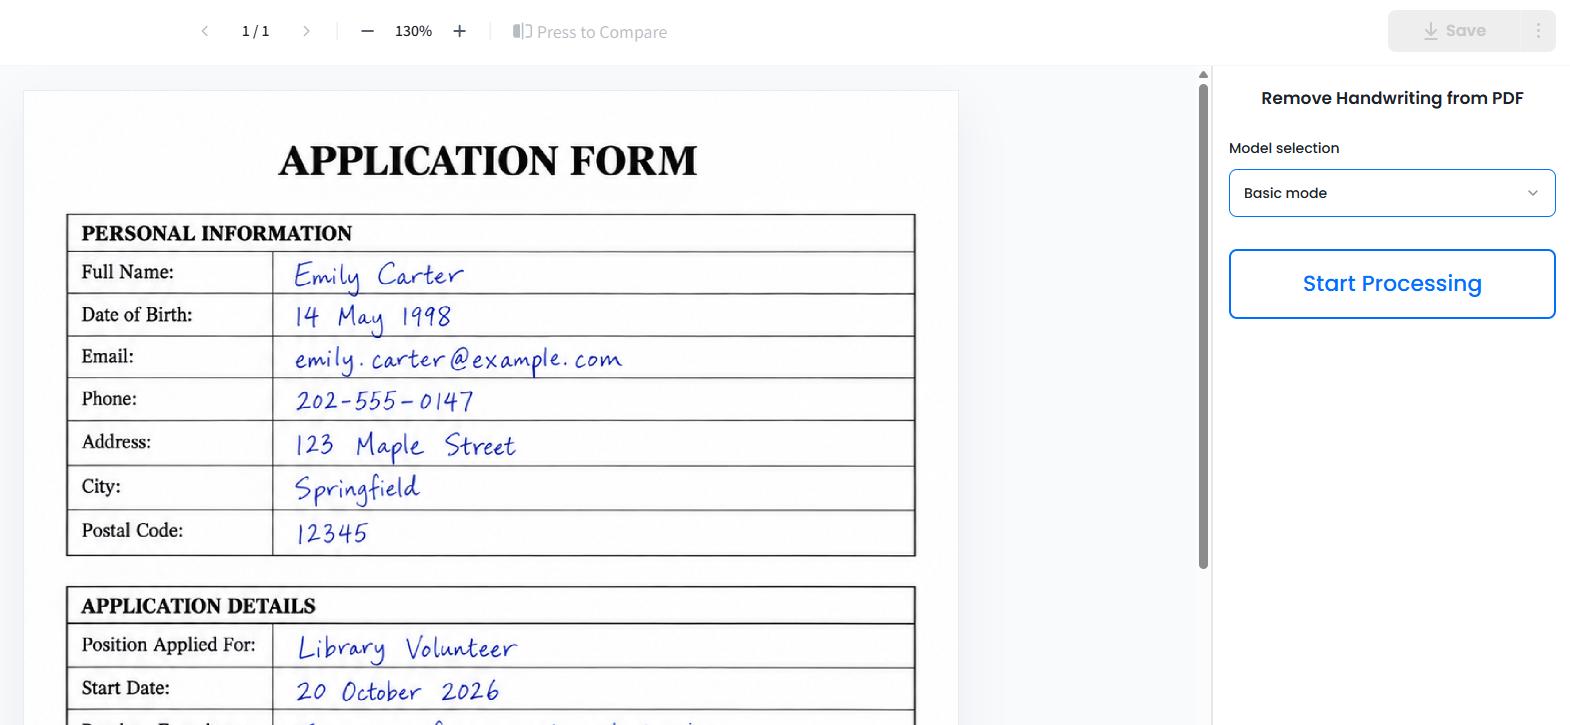
- Review each page for remaining marks or changes to printed content.
- Download the cleaned PDF and save it separately from the original.

Pros:
- Accepts scanned PDFs directly.
- Suitable for forms with several pages.
- Keeps the workflow in PDF format.
Cons:
- Dense handwriting may require closer inspection.
- Removing handwriting does not create interactive form fields.
3. Clean Completed Forms with Handwriting Remover

Best for: Form images and PDFs that need automatic removal with optional manual cleanup.
Handwriting Remover accepts document images and PDFs. Its Basic model produces a black-and-white result, while Advanced processing preserves page colors and details. A manual editing option lets you brush over marks left after processing.
How to Use Handwriting Remover
- Open Handwriting Remover and upload your form image or PDF.
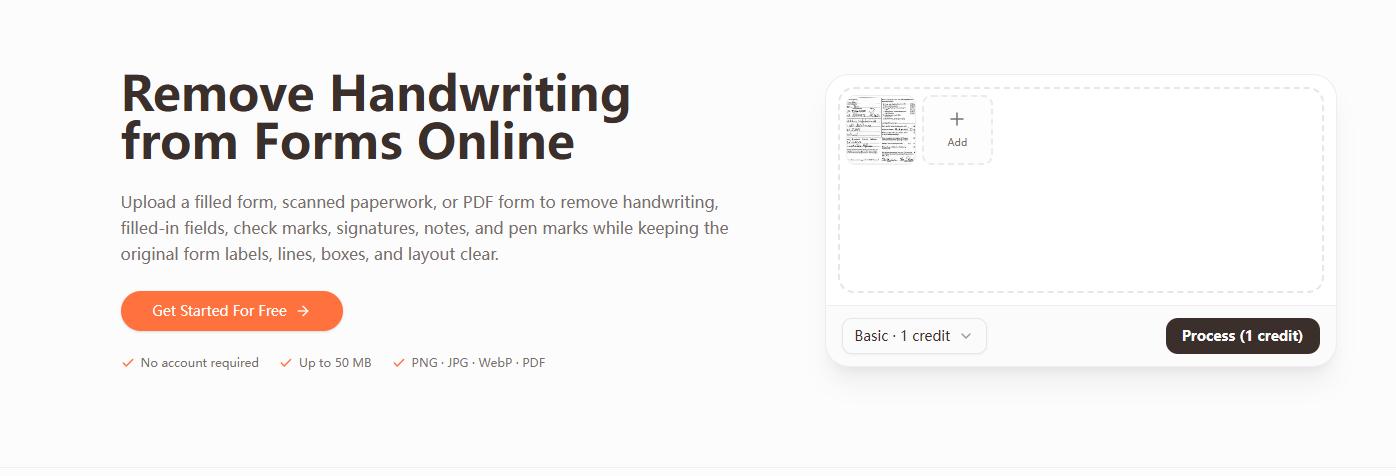
- Choose Basic for black-and-white cleanup or Advanced to retain colors.
- Click Process.
- Review the result and use manual editing if marks remain.
- Download the cleaned form after checking the labels and borders.

Pros:
- Supports images and multi-page PDFs.
- Combines automatic removal with manual editing.
- Offers separate options for monochrome and color documents.
Cons:
- Processing uses credits.
- Basic processing changes the page to black and white.
- Handwriting over printed content still needs careful inspection.
4. Erase Small Handwritten Notes with Cleanup.pictures
Best for: A few isolated handwritten entries on a form image.
Cleanup.pictures is an online image retouching tool. You brush over unwanted text or marks, and the tool reconstructs the selected area. For forms, this approach is most practical for notes in blank spaces, away from printed labels and borders.
How to Use Cleanup.pictures
- Save the form as an image. For a PDF, export the relevant page as an image first.
- Upload it to Cleanup.pictures.
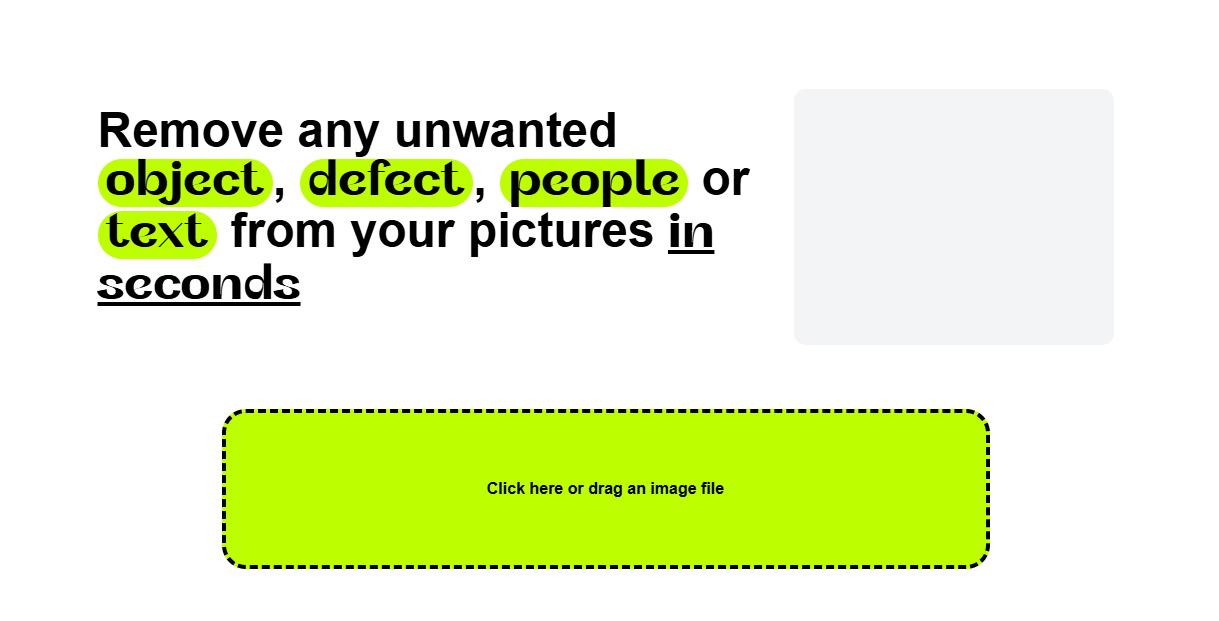
- Adjust the brush size and paint over a handwritten entry.
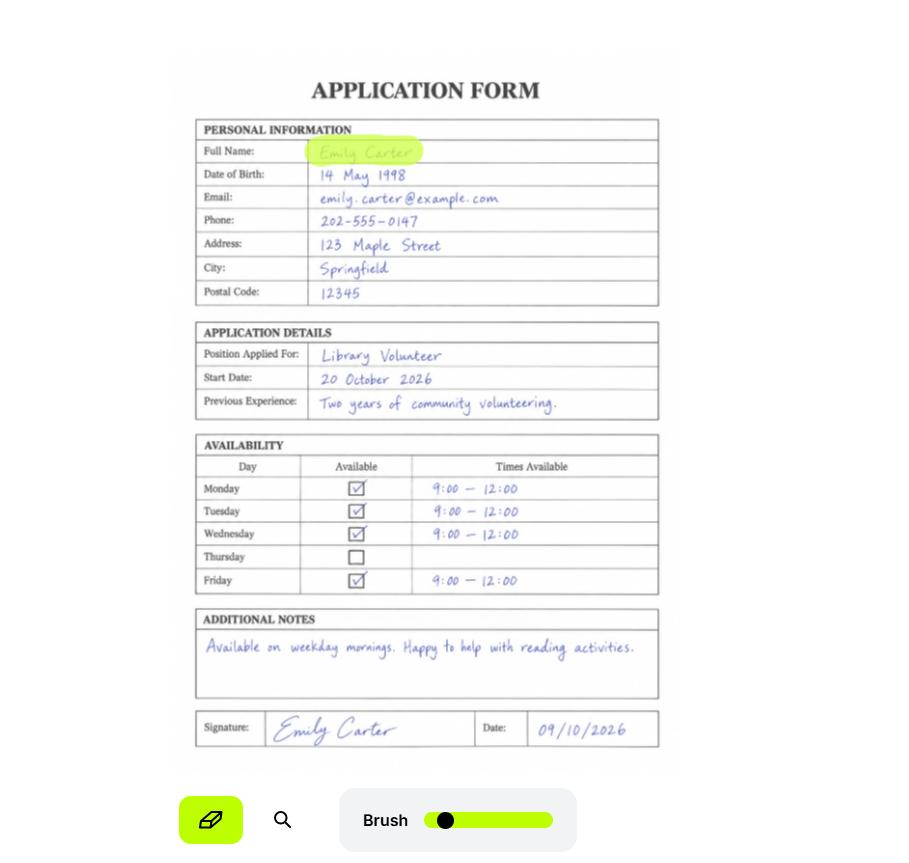
- Review the result before editing the next area.
- Download the cleaned image.
Pros:
- Lets you select specific areas to erase.
- Offers a free version for basic cleanup.
- Useful for small edits to otherwise clean forms.
Cons:
- Each area needs manual selection.
- Free exports are limited to 720px, which may reduce print clarity.
- Selecting printed labels or borders may alter those details.
5. Remove Handwritten Marks with Canva Magic Eraser
Best for: Small corrections to form images you are already editing in Canva.

Canva Magic Eraser removes unwanted content from photos using a brush or object selection. It is a general image editing tool rather than a dedicated handwriting remover. Try a small area first to see whether it preserves the nearby form details. Magic Eraser is a Pro feature.
How to Use Canva Magic Eraser
- Upload an image of the form to Canva.

- Open the image editor and select Magic Eraser.
- Choose Brush and adjust its size.
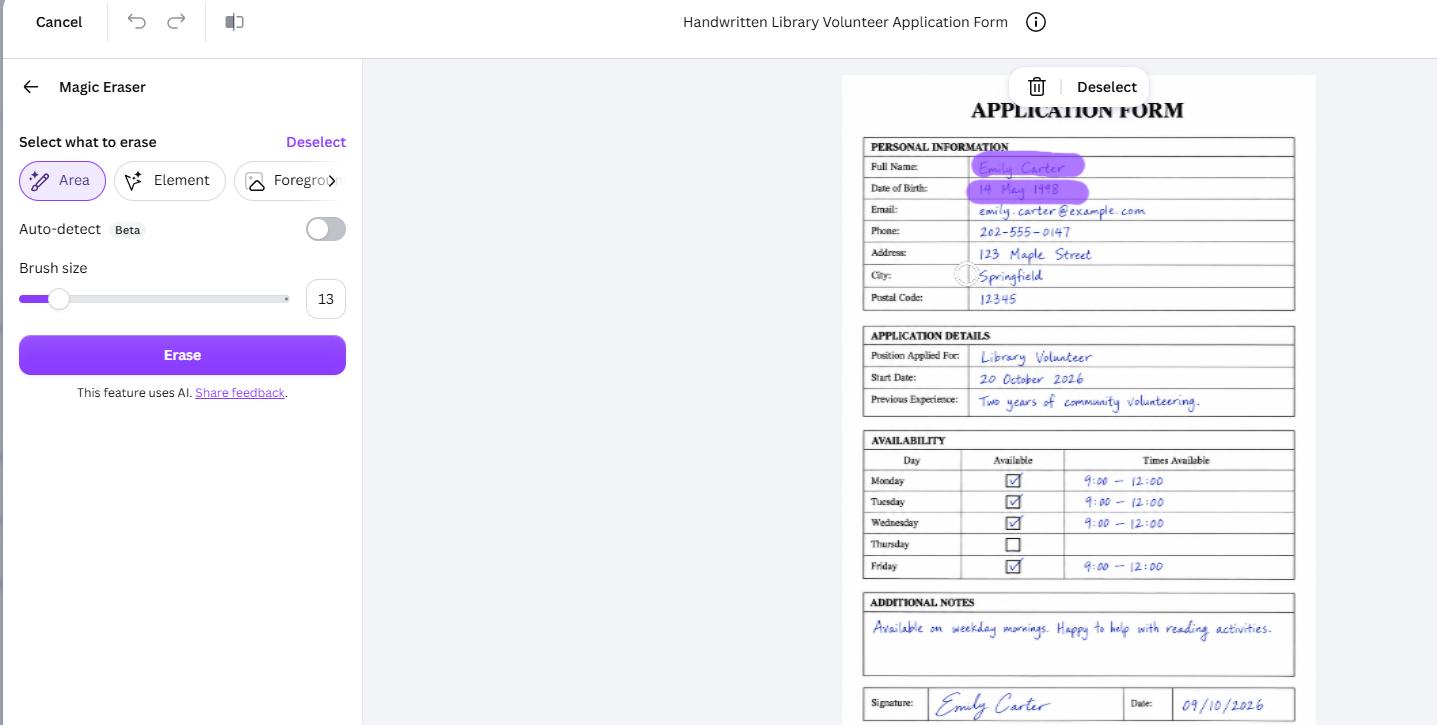
- Brush over the handwritten content.
- Check the result and download the edited image.
Pros:
- Convenient for existing Canva users.
- Offers an adjustable brush for targeted edits.
- Lets you continue editing in the same workspace.
Cons:
- Requires access to the Pro feature.
- Manual brushing takes time on fully completed forms.
- Nearby printed text or lines may be affected.
Tips for Getting a Clear, Reusable Form
A clean source image makes the result easier to check and reuse.
- Use a sharp scan or photo. Make sure small labels and instructions are readable.
- Avoid shadows and glare. Capture the page under even lighting.
- Inspect overlapping content. Check handwriting across printed words, checkboxes, and table lines.
- Compare with the original. Confirm that no field labels or instructions have disappeared.
- Print a test copy. Check clarity and page size before making multiple copies.
Only edit forms you own or have permission to modify. Keep completed originals when they serve as records, and save cleaned templates separately.
Conclusion
For forms with handwriting across several fields, start with a dedicated tool such as LightPDF or Handwriting Remover. For a few isolated notes on an image, Cleanup.pictures or Canva Magic Eraser may be enough. Check the printed text, boxes, and borders before reusing the cleaned copy, and keep the original separately.



Leave a Comment