


Part 1. Best Cursive Handwriting Styles
The best cursive handwriting style depends on what you want to write. A daily journal calls for something different from a carefully lettered invitation.
The order below is an editorial recommendation for beginners, prioritizing everyday usefulness and a clear path for practice. Copperplate appears as a related calligraphy option for readers who want to explore decorative script.
1. Zaner-Bloser Cursive: A Practical Starting Point
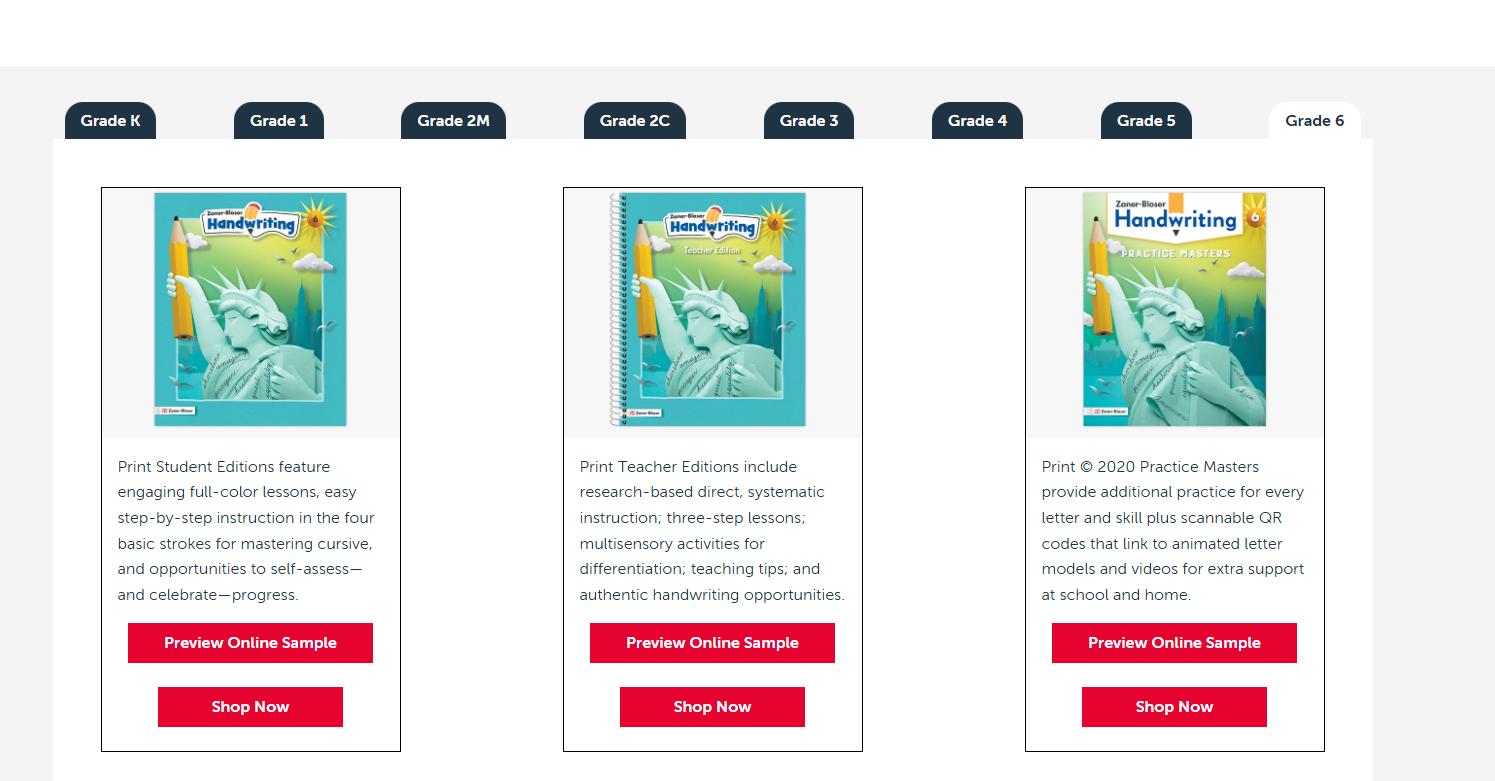
If you want a traditional cursive model to follow, Zaner-Bloser is a useful place to begin. Its structured curriculum provides stroke instruction, letter models, and opportunities to review your own writing.
For this guide, it takes the first spot because it offers a clear practice route: study a model, practice the letter, then use it in words. Start with the publisher’s handwriting materials and samples to see whether the forms suit your goals.
2. D’Nealian Cursive: A Natural Next Step from D’Nealian Print
D’Nealian teaches manuscript and cursive through a continuous-stroke approach. Many of its lowercase manuscript forms resemble their cursive counterparts, helping learners make the transition between them.
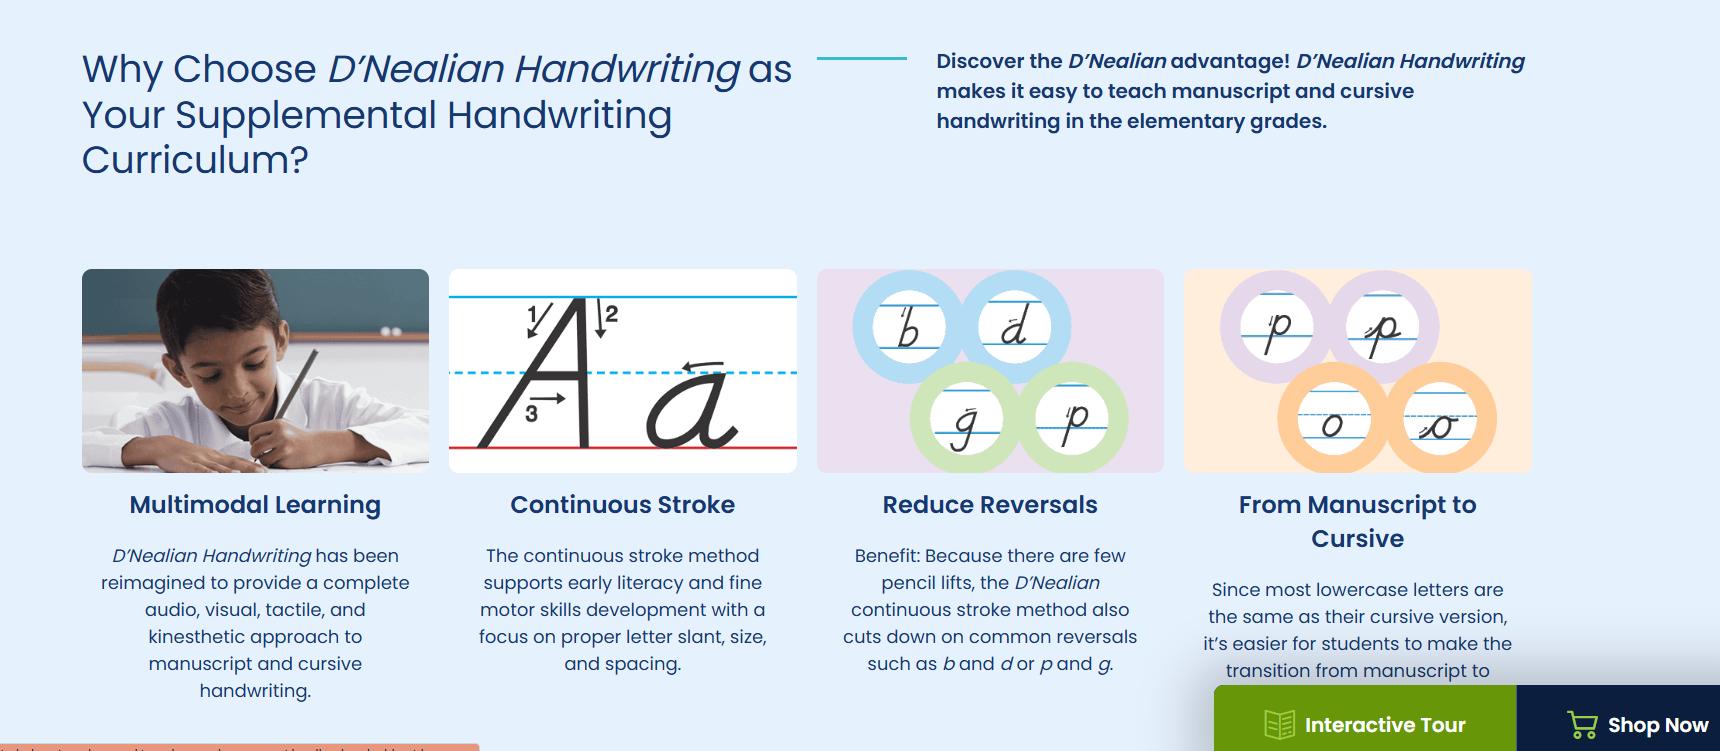
It is particularly worth considering if you already learned D’Nealian print. Use matching print and cursive models so you can see which shapes stay familiar and where connecting strokes need attention.
3. Palmer Method: For Flowing Everyday Writing
The Palmer Method of Business Writing was designed around practical, legible writing. Its lessons emphasize muscular movement, relaxed handling of the pen, and repeated movement drills.
Consider it if your goal is a flowing everyday hand and you enjoy a systematic routine. Follow the movement instruction as well as the alphabet examples; copying the finished letter shapes covers only part of the method.
4. Spencerian: For an Elegant Personal Style
Spencerian is known for graceful forms and delicate lowercase shading. It is an appealing choice for personal letters or a handwriting hobby where the appearance of each line matters.
Give yourself time to study its proportions before adding flourishes. You can explore the letter shapes with a regular pen, then learn the appropriate pointed-pen technique if you want shaded strokes.
5. Copperplate: For Formal Calligraphy
Copperplate-style calligraphy uses pronounced contrast between shaded strokes and fine hairlines. It suits formal lettering projects, including invitations and place cards.
Treat it as a calligraphy project alongside everyday cursive. Its controlled strokes and shading require a different practice approach. Dr. Joseph Vitolo’s comparison of Copperplate and Spencerian explains how their lowercase forms differ.
Part 2. How to Learn Cursive Handwriting
Once you choose a style, work from simple movements toward words and sentences. The following sequence is a suggested starting routine for everyday cursive; follow your chosen method’s instructions when they differ.
1. Keep One Alphabet Model Beside You
Choose a reference showing lowercase letters, capitals, and examples of connected words. Keep it visible while you practice.
Switching between worksheets from different methods can make learning confusing. A cursive “r,” “s,” or capital “G” may look different across models. Stay with one set of forms while you learn the basics.
2. Set Up Your Pen and Paper
Start with a pen or pencil that moves comfortably across the page and produces a clear line. Lined paper helps you check whether your writing stays level.
A worksheet with a baseline and middle guide can make letter height easier to judge. Zaner-Bloser offers free cursive practice paper among its downloadable resources.
Keep the page at an angle that lets you see the writing comfortably, and avoid gripping the pen tightly.
3. Practice the Basic Movements
Look at the strokes repeated in your chosen alphabet. These may include ovals, curves, rising strokes, and loops.
Practice a short row of each movement, then compare the results. Look for similar height, width, and direction. A few careful repetitions give you something useful to review.
4. Learn Lowercase Letters in Small Groups
Work on a few related letters at a time. In many looped cursive models, useful practice groups include:
- Rounded forms: a, c, d, g, o.
- Repeated humps: m, n.
- Tall or looped forms: h, l.
- Descending forms: g, j, y.
These are suggested practice groups, not a fixed teaching sequence. Check your model for the starting point, stroke direction, and finishing position of each letter.
5. Practice Connections in Short Words
A letter can look clear on its own and become difficult to recognize when joined to another. Try short words such as “in,” “me,” “can,” “name,” and “hello.”
Watch the connection between letters. Leave enough space for each shape to remain recognizable, and follow the joins shown in your reference.
6. Add Capitals and Sentences
Practice capitals in useful contexts: your name, days of the week, and the beginning of a sentence. Then write a short line such as:
Today I will practice clear, comfortable cursive.
Check the whole line for spacing and readability. Follow your model’s guidance on pen lifts, dots, crossbars, and capital connections.
Try a 10-Minute Practice Session
Use a manageable routine rather than a deadline for progress. Choose one focus for the session, such as consistent lowercase height. Keeping the task small makes the result easier to assess.
Part 3. How to Improve Your Cursive Handwriting
If you already know the alphabet, begin by identifying what makes your writing hard to read. Copy a short paragraph at your normal pace, then use the table below to choose a focused exercise.
Fix One Pattern at a Time
Choose the issue that affects readability most. If spacing is the problem, spend the next session on spacing. Once it becomes more consistent, move to letter height or connections.
Trying to change every detail in one paragraph makes it difficult to see which adjustment helped.
Compare the Same Sentence Over Time
Date a sample and repeat the same sentence after several practice sessions. Compare specific details: Are the letters more consistent? Are the words easier to distinguish? Does the writing feel more comfortable?
Using the same text keeps the comparison focused.
Read Someone Else’s Cursive
Look at a clear example in your chosen style and try reading it before copying it. Notice how the writer distinguishes similar shapes and handles connections.
This gives you a practical question to bring back to your own page: could another reader recognize the word without guessing?
Use Cursive for Small Everyday Tasks
Try a shopping list, a short journal entry, or a thank-you note. These give you a chance to use the forms you have practiced in meaningful writing.
For longer passages, keep checking that your letter shapes remain clear as you settle into your normal pace.
Part 4. How to Convert Cursive Handwriting to Text
Once your cursive pages contain notes you want to edit, share, or organize, handwriting recognition can help you reuse the content.
LightPDF Handwriting to Text accepts handwritten PDFs and images, including JPG and PNG files. You can review and edit the recognized content before downloading the result. For cursive writing, begin with one sample page to check how well your particular handwriting is recognized.
How to Use LightPDF
- Capture a clear page. Scan your notes or take a photo with the page flat, evenly lit, and fully visible.
- Upload the file. Open LightPDF’s Handwriting to Text tool and select your image or PDF.
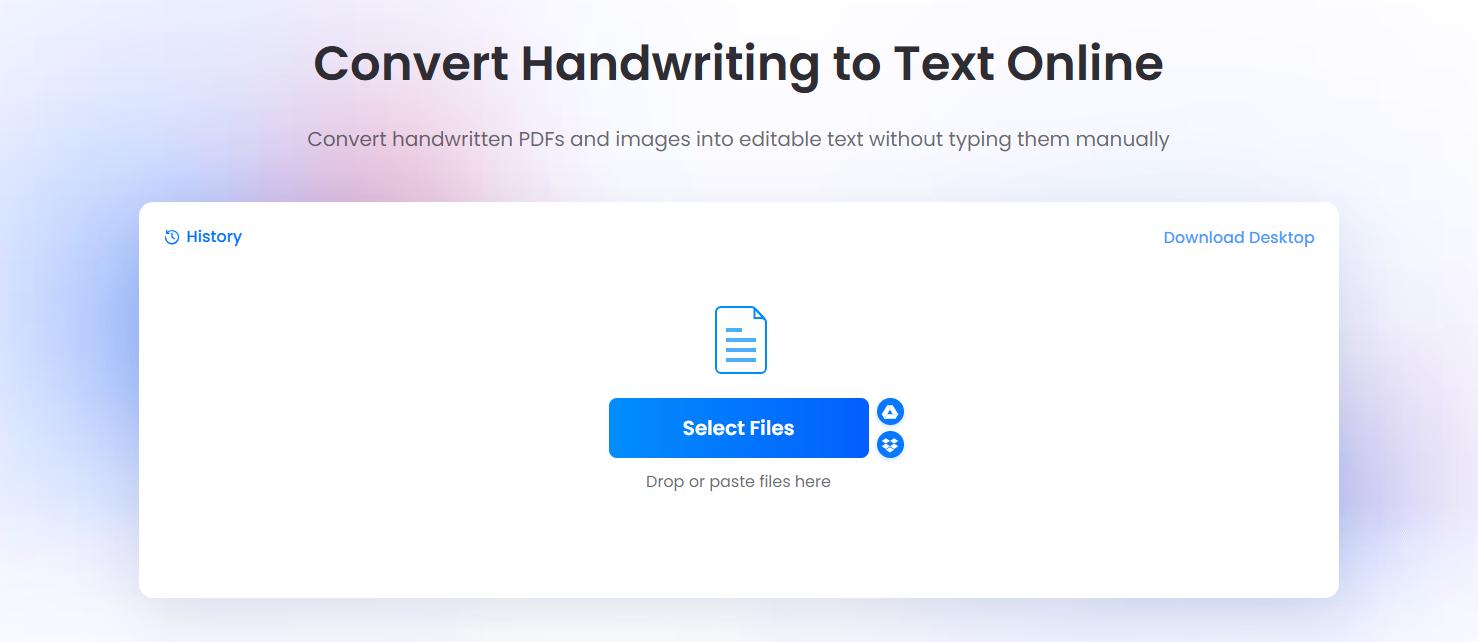
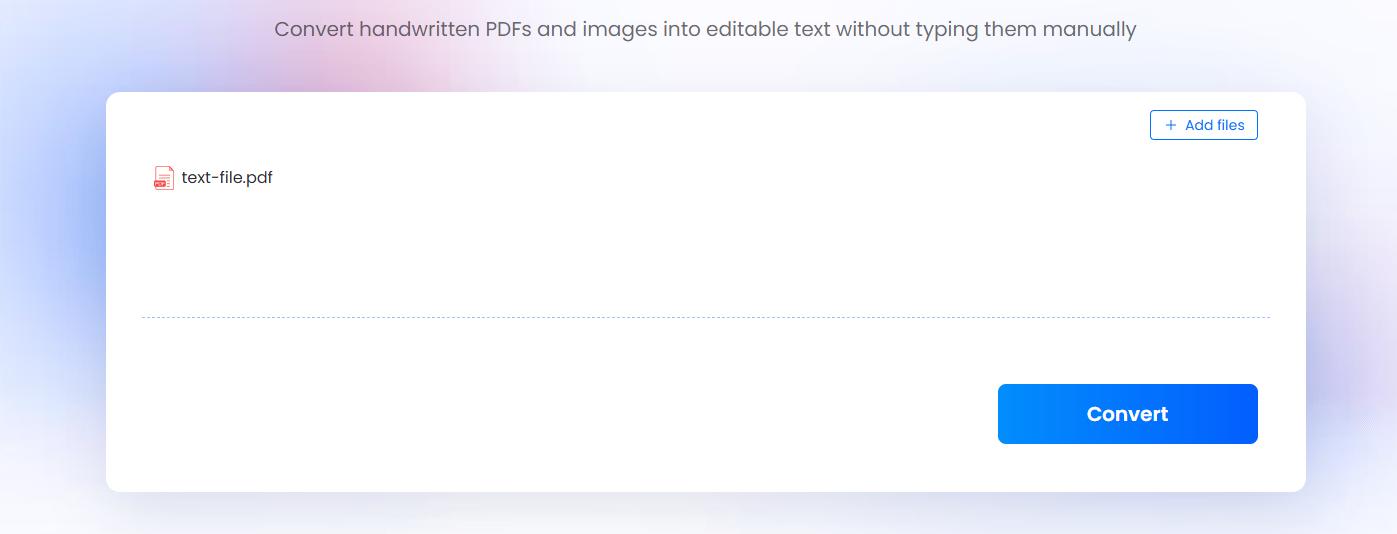
- Start the conversion. Run handwriting recognition.
- Review and download. Compare the output with the original, correct recognition mistakes, and save the result.
Closely joined letters, faint strokes, and decorative flourishes can make recognition harder. Check unfamiliar words, numbers, and punctuation carefully before reusing the text.
Conclusion
Learning cursive handwriting starts with choosing a style you enjoy and practicing consistently. Begin with individual letters, move on to connected words, and gradually improve your spacing, slant, and flow. When you want to reuse your handwritten notes, try LightPDF Handwriting to Text to turn them into editable content. Review the converted text before saving or sharing it.



Leave a Comment