


For reasons such as protecting content and marking the source, we often need to add text watermarks or image watermarks to PDF documents. LightPDF is an all-around PDF editor that integrates functions such as PDF editing, conversion, annotation, compression and text recognition. This tutorial will introduce how to use LightPDF to insert or delete text and image watermarks in your PDF documents. Download it and customize your exclusive watermark now!

Add Watermark
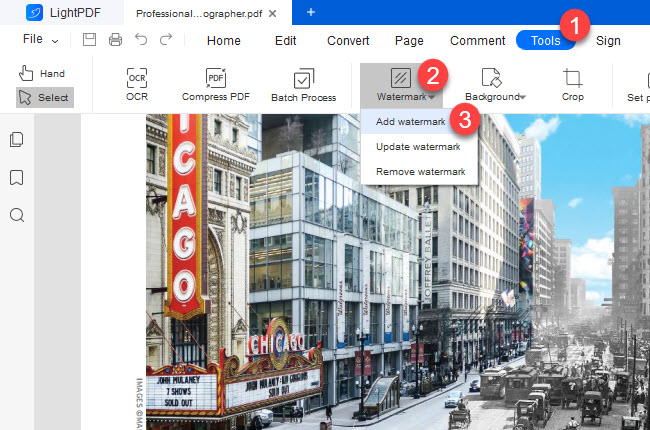
- Open a PDF document > click the Tools > Watermark > Add watermark > the setting window will pop up.
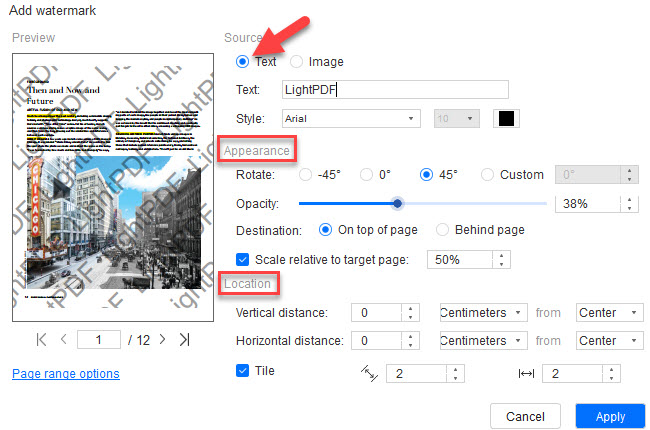
- Add a text watermark: Choose the Text source > input content in the text box > adjust font, color, opacity and destination according to your needs.
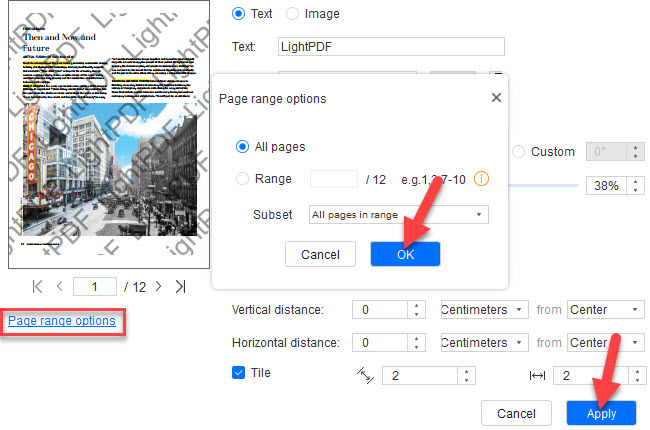
- Click Page range options to determine the page range to add the watermark, if you want to apply to all pages, please check All pages > OK > Apply to use the watermark.
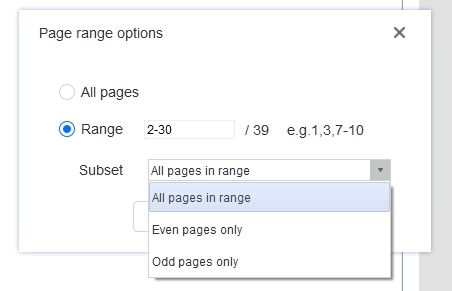
- If you want to apply to individual pages, please check the Range and enter the page number. Within the range, you can also choose to add a watermark to odd or even pages only.
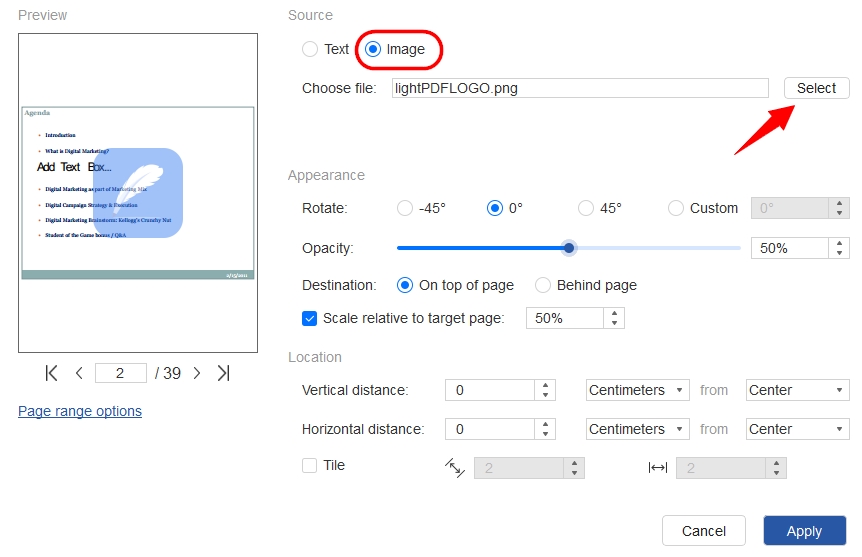
- Add a picture watermark: Choose the Image source > click Select to choose the watermark picture from the local folder. It supports image formats such as .jpg, .jpeg, .png. Other steps are consistent with adding text watermark.


Update the Watermark
- Open a PDF document > click the Tools > Watermark > Update watermark > the setting window will pop up.
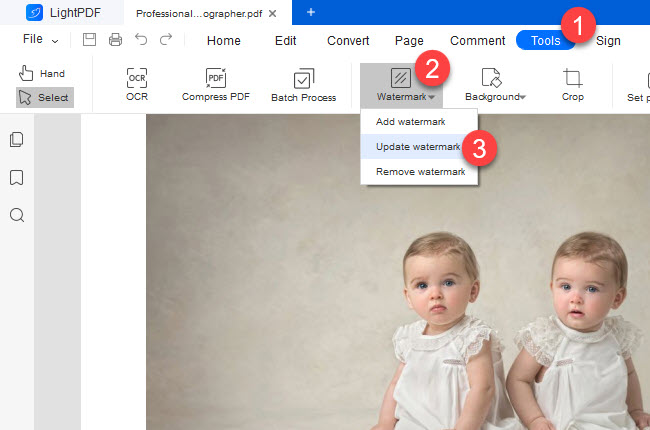
- The subsequent steps are the same as adding watermark.

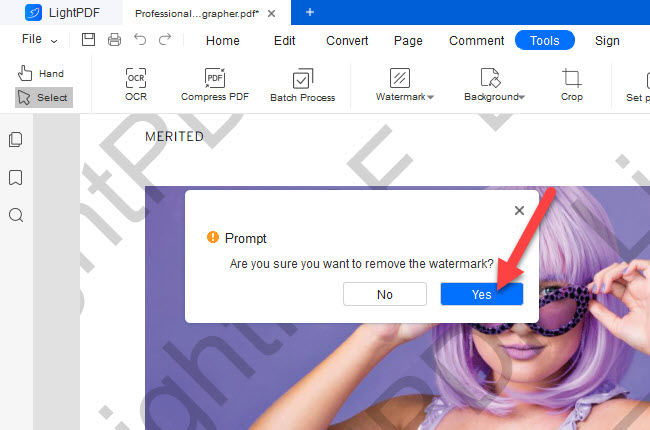
Remove the Watermark
- Open a PDF document > click Tools > Watermark > select Delete watermark > click Yes to remove the watermark in PDF.

If you encounter any problems in the process of using LightPDF, please feel free to contact us.
Leave a Comment