


Simple Ways to Protect Your Excel File Documents
When and Why We Need to Add Password to Excel
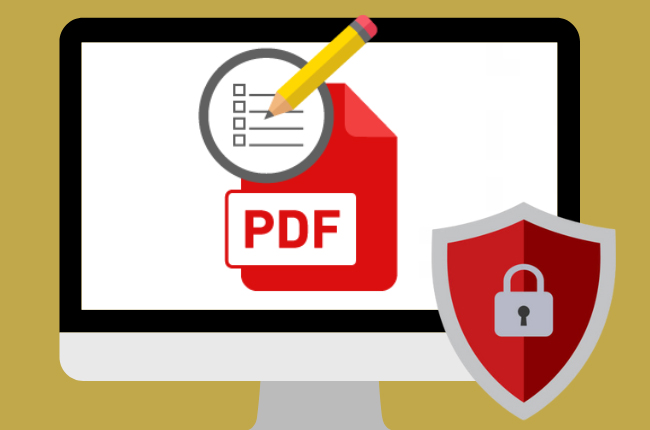
Since the data stored in Excel document is very confidential, like payrolls, statements of accounts, billings, and many more, most of us are looking for the best way to protect the Excel file before sending it to other colleagues. In this way the author can ensure that only the designated person can view the data on the Excel file. If you’re using Microsoft Excel, you can add password to Excel without using third-party apps. However, you need to subscribe to its license in order to do it.
Check the default way to add password protect Excel file below:
- To get started, go to the “File” menu in the upper right.
- Then, head on to the “Info” section.
- From here, click the “Protect Workbook” button, then select the “Encrypt with Password” option.
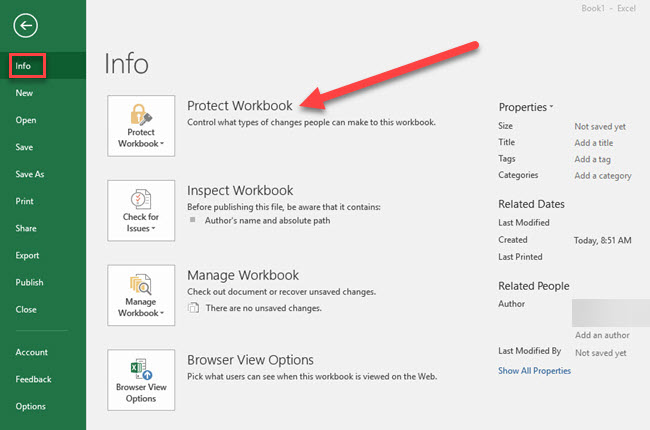
- After that, enter the password you want on the window that will appear.
- Lastly, hit the “OK” button to save the changes made.

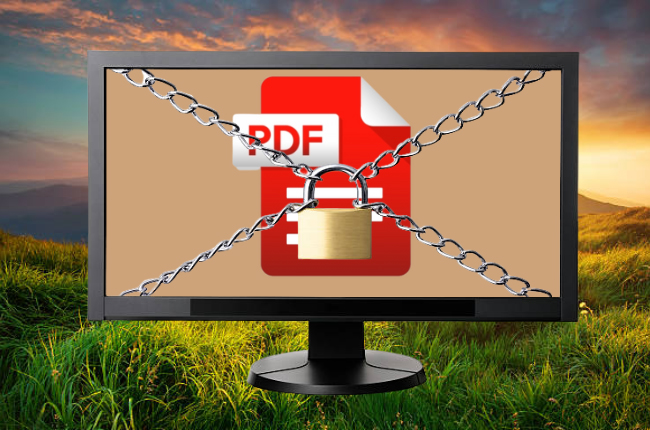
Alternative Ways to Protect Excel File Without Losing the Original Format
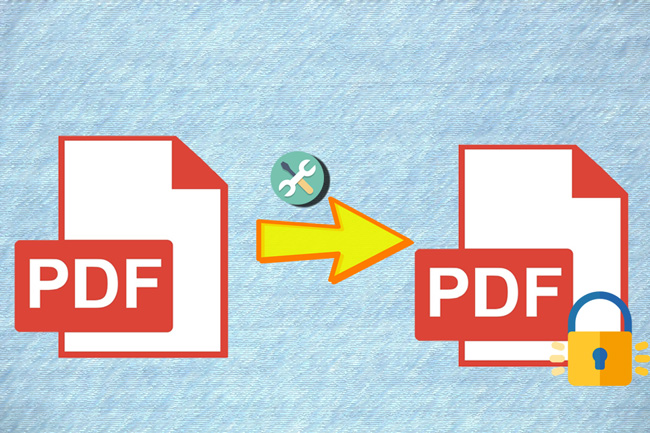
LightPDF is one of the best alternatives that you can rely on to password protect Excel file. Before adding a password, the best you can do is to convert the document first into a PDF file. We all know that converting Excel or other file formats to PDF lets you preserve the format of the documents. This tool will assure you that the output from the conversion will keep the original formats. In addition, you can guarantee the privacy and safety of the uploaded file because of its timely protection feature.
Free DownloadCheck the steps on how you can add password to Excel using LightPDF:
Step 1: Convert the Excel File First to PDF
- First, go to the official website of this tool.
- Second, click the “PDF Tools“ option then hit the “Excel to PDF” function.
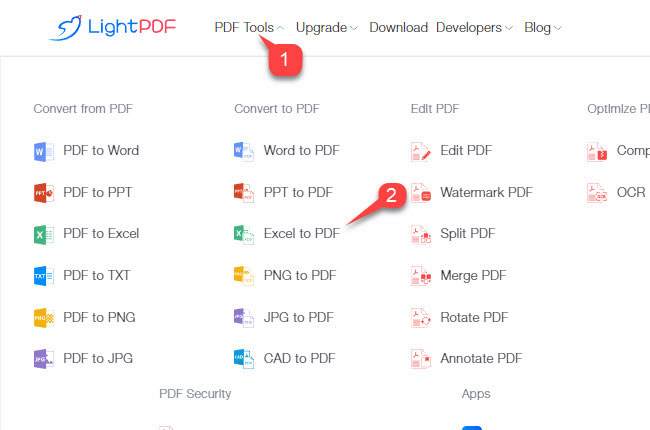
- Third, click the “+” icon to upload the Excel file on your PC.
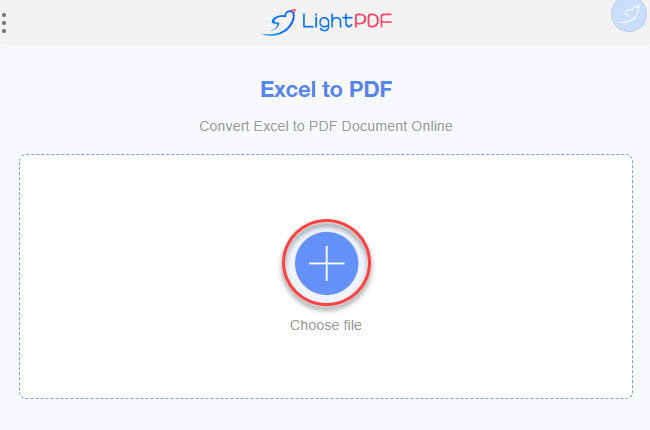
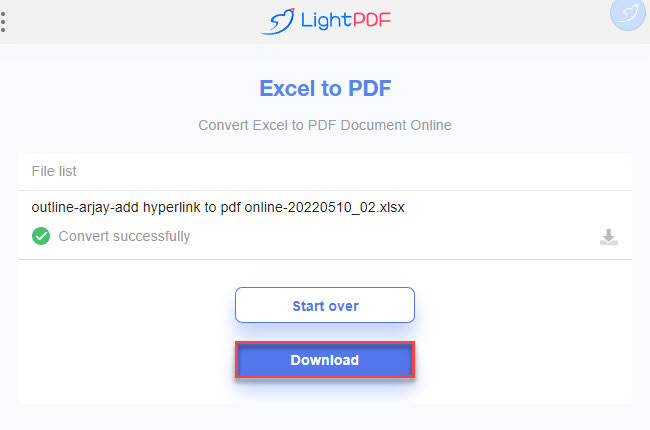
- Fourth, hit the “Convert” button to start the conversion process.
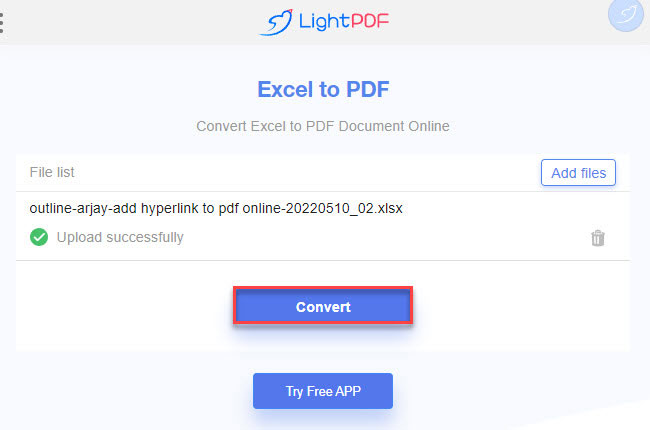
- Fifth, click the “Download” button to save it on your computer.


After converting the Excel file to PDF, we will show the steps on how to encrypt Excel file using the same tool. By this, we can assure that the format is preserved, and all of the data and information are secured very well.
Step 2: Add Password to the Converted Excel File:
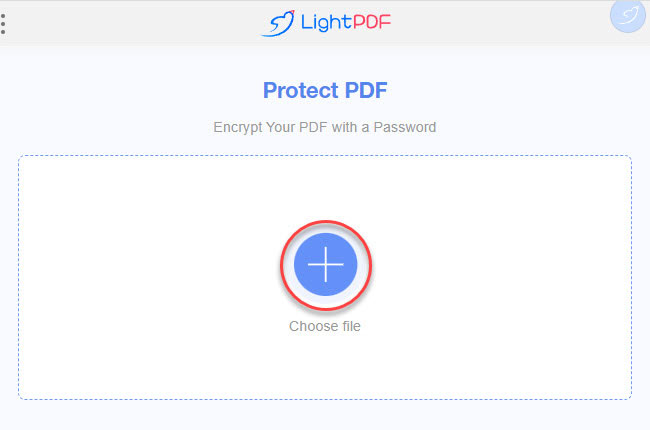
- From its official website, head on the to “PDF Tools“ option then hit the “Protect PDF” function.
- Then, hit the “+” icon to upload the converted Excel file on your computer.
- Next, enter the password you want to insert in the document.
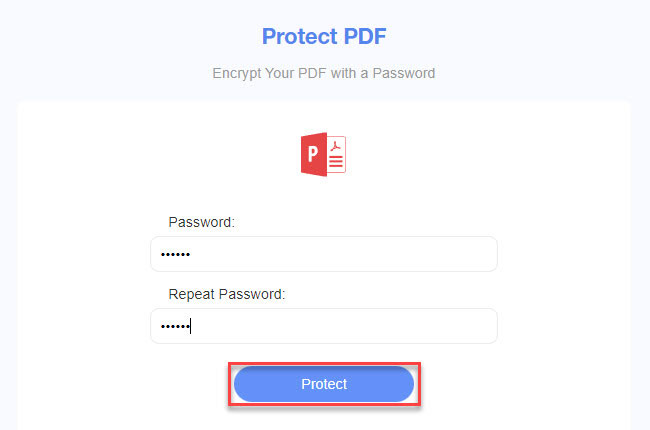
- After that, hit the “Protect” button to proceed.
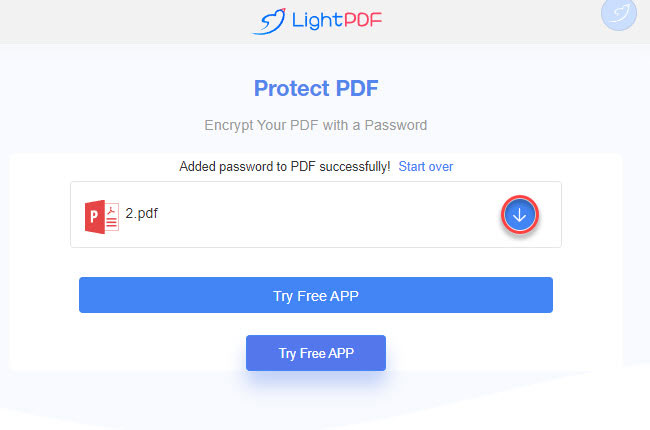
- Once done, click the “Download” button to save it on your computer.


Conclusion
To sum it up, this article talks about the default and alternative ways that can help you to add password to Excel to protect your documents. We recommend using the alternative way of protecting your Excel file using the LightPDF online tool. For more suggestions, feel free to write your comment below.

Leave a Comment